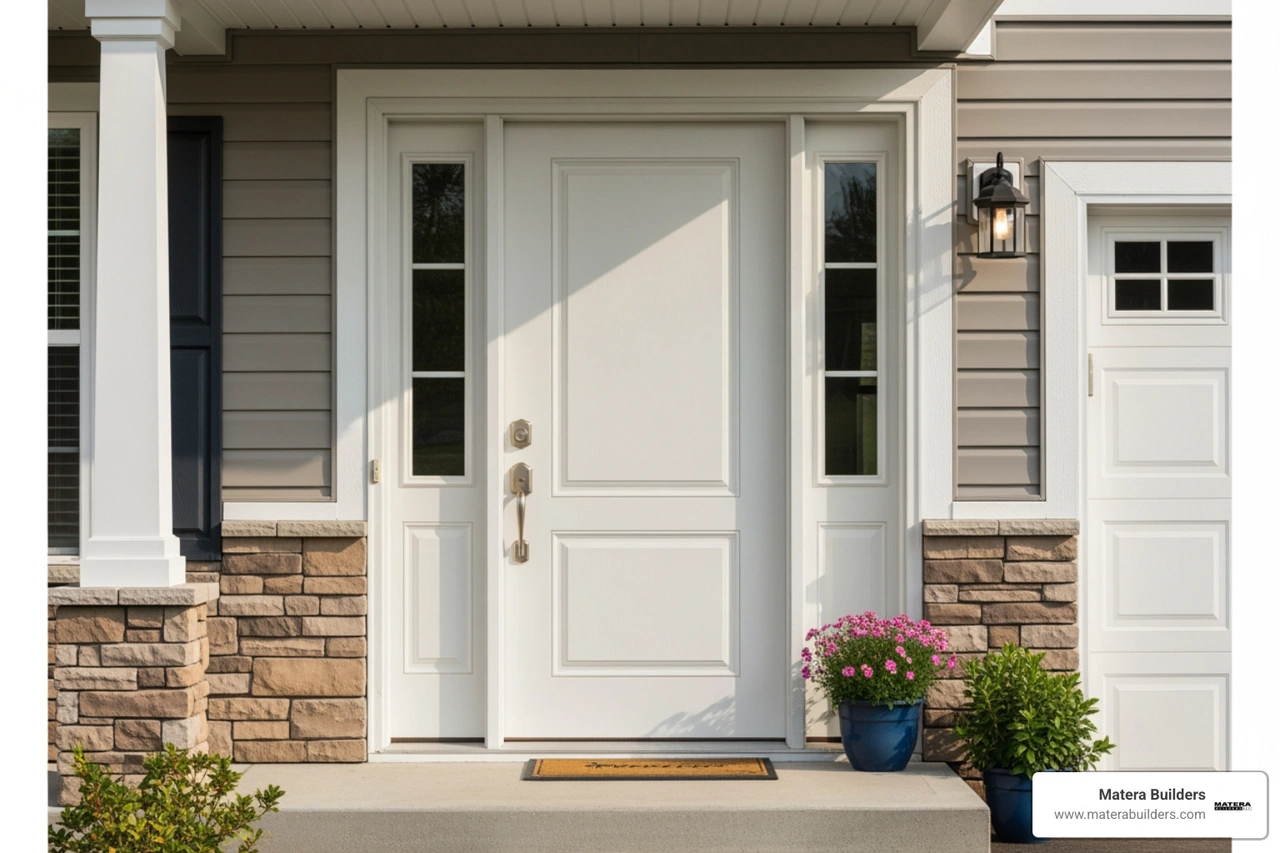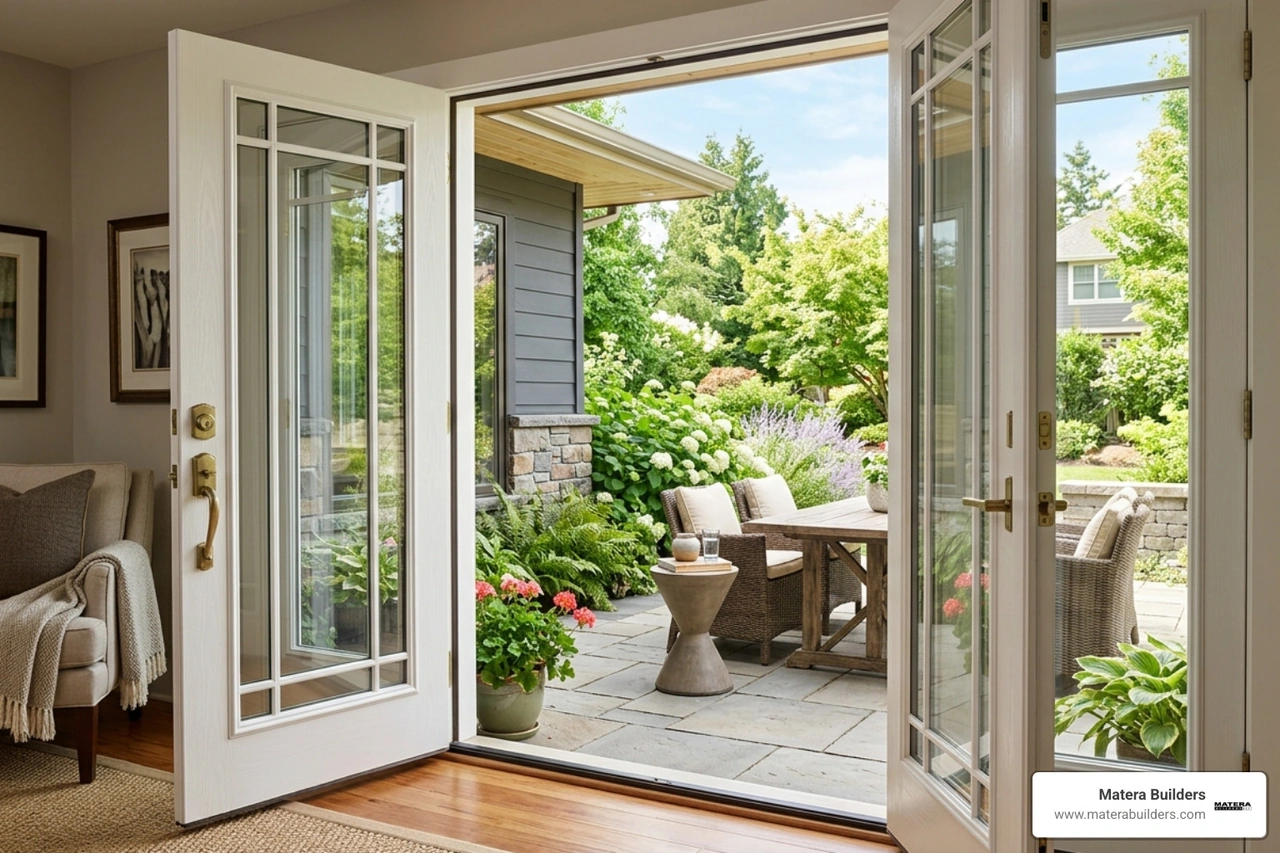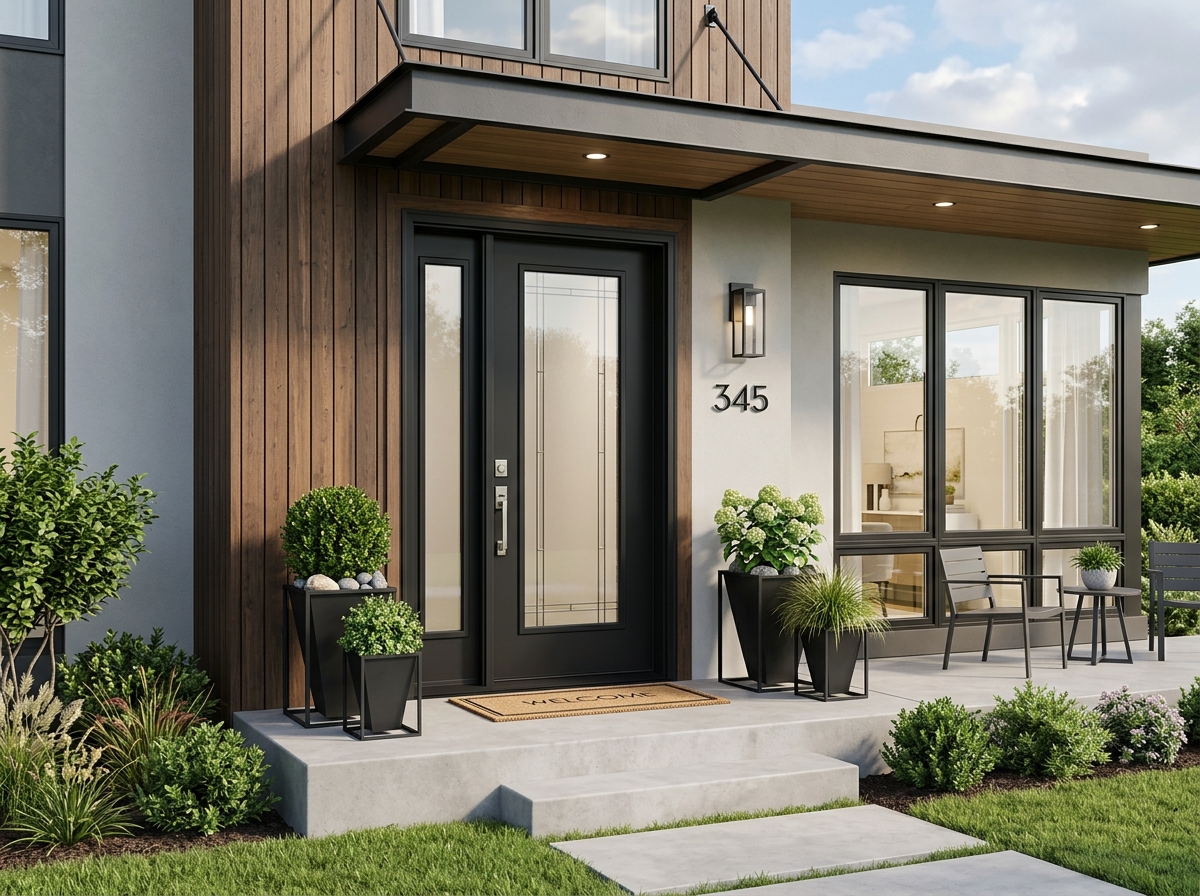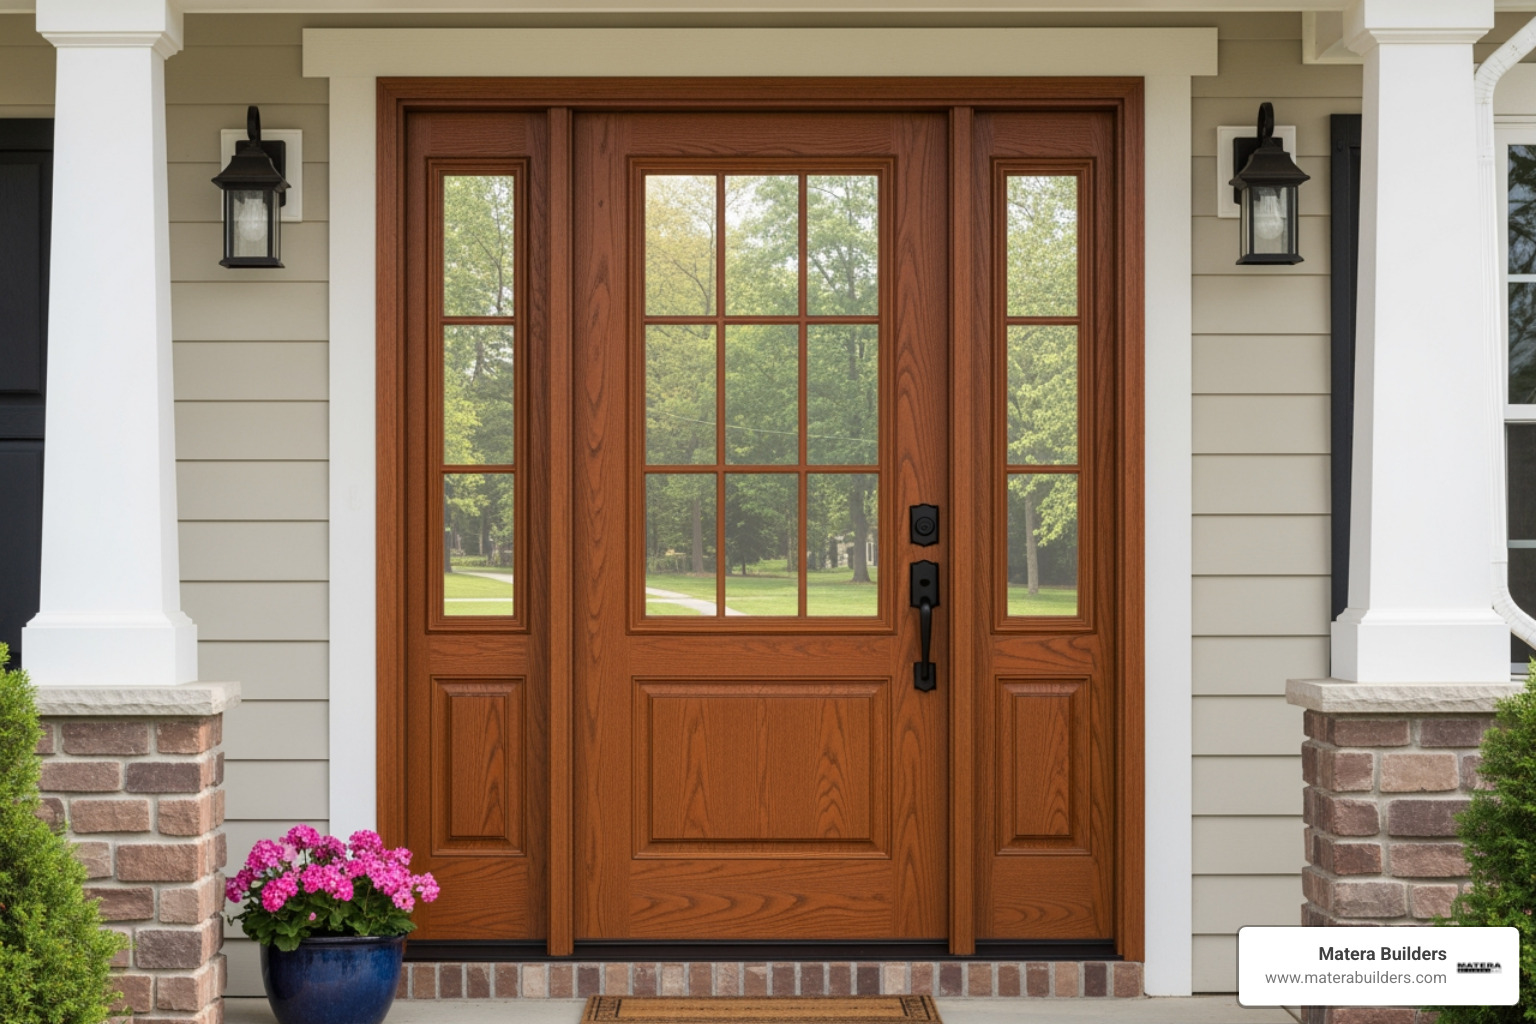

Why Custom Entry Door Installation Is More Than Just a New Door

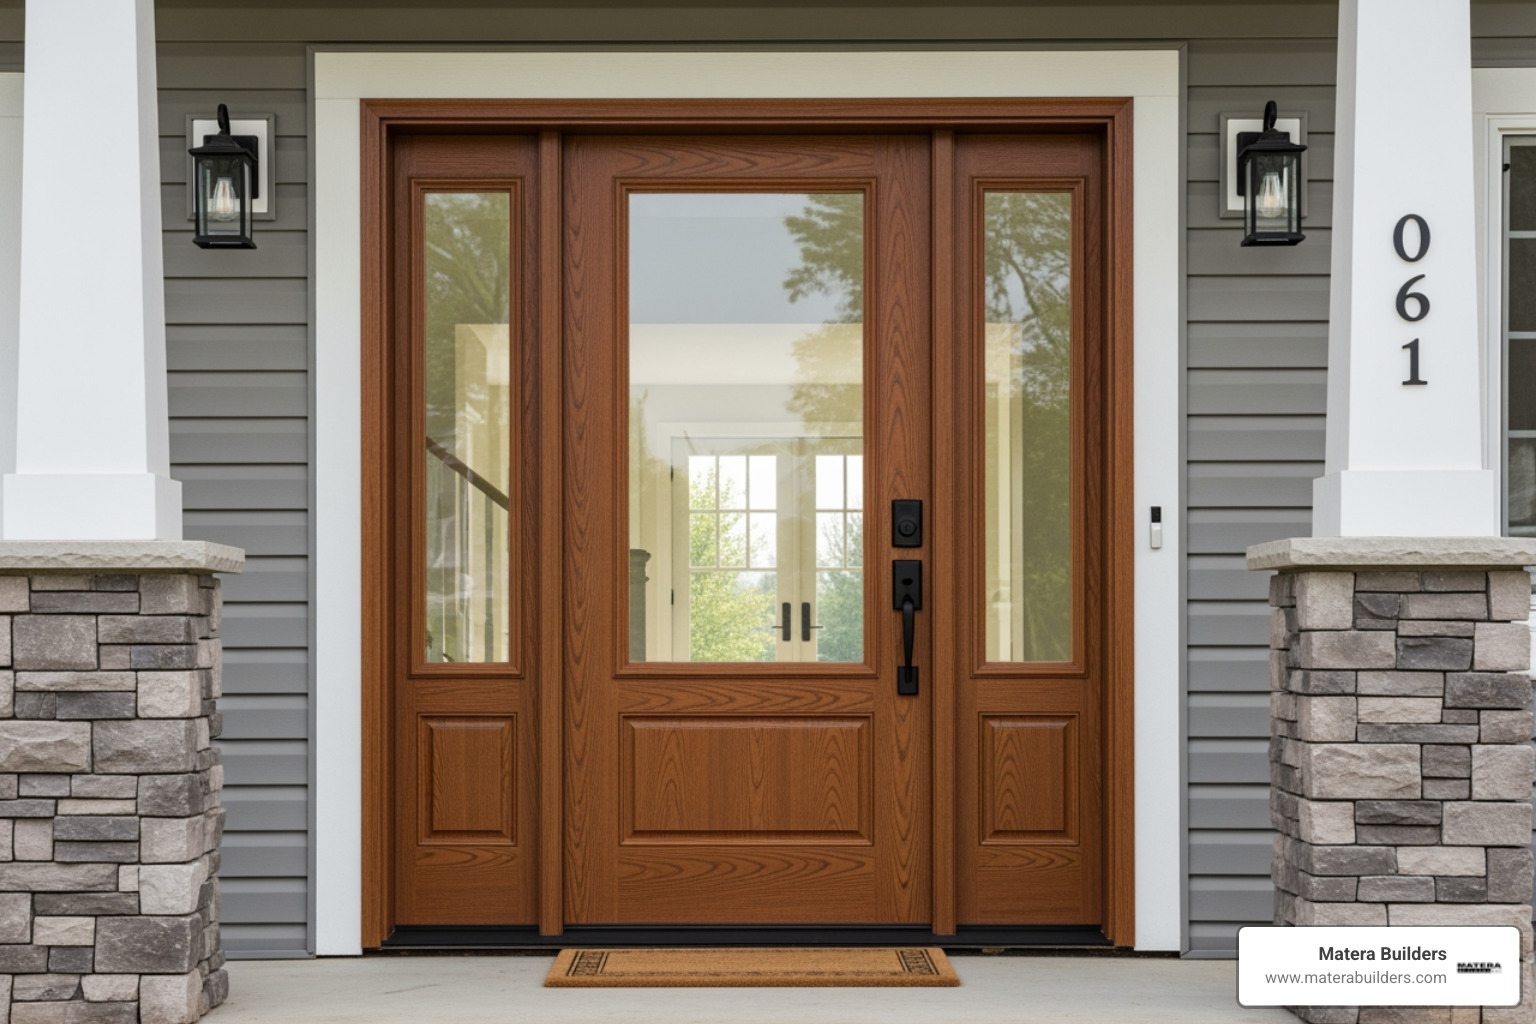
Custom entry door installation is one of the highest-impact upgrades you can make to your home — but only when it's done right.
Here's a quick overview of what the process involves:
- Plan your opening — measure width, height, and jamb depth; determine door handing (inswing vs. outswing)
- Choose your material — fiberglass, steel, or wood, based on your climate and style needs
- Remove the old door — trim, frame, slab, and all
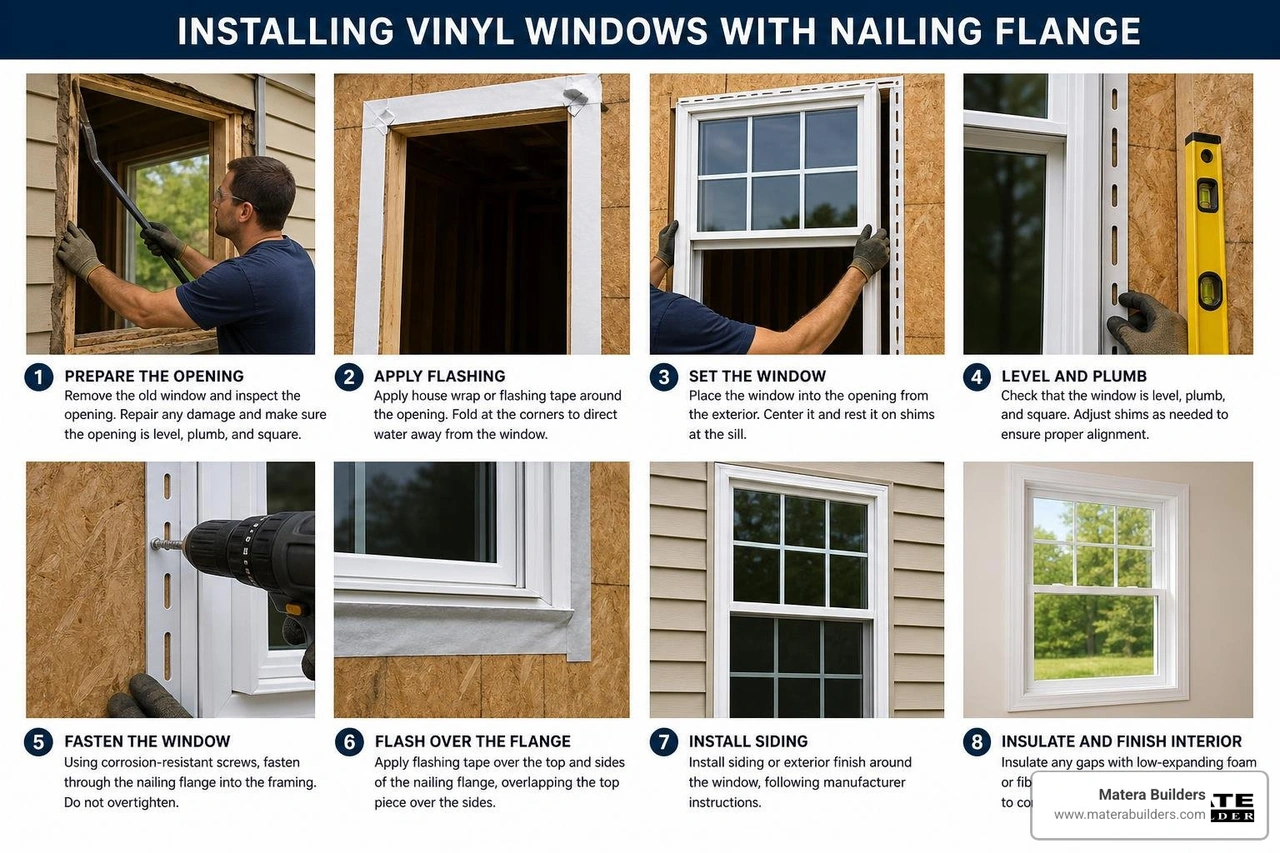
- Prep the rough opening — inspect for rot, apply flashing and moisture barriers
- Set and align the new door — level, plumb, and square before fastening
- Seal and insulate — low-expansion foam, weatherstripping, exterior caulk
- Install hardware — deadbolts, hinges, threshold, and finishing trim
A proper installation takes a skilled DIYer 4 to 6 hours, or up to a full day for first-timers. Professional installs for complex configurations — like sidelights or transoms — can run longer. Costs typically range from $100 to $1,500 depending on scope and labor rates.
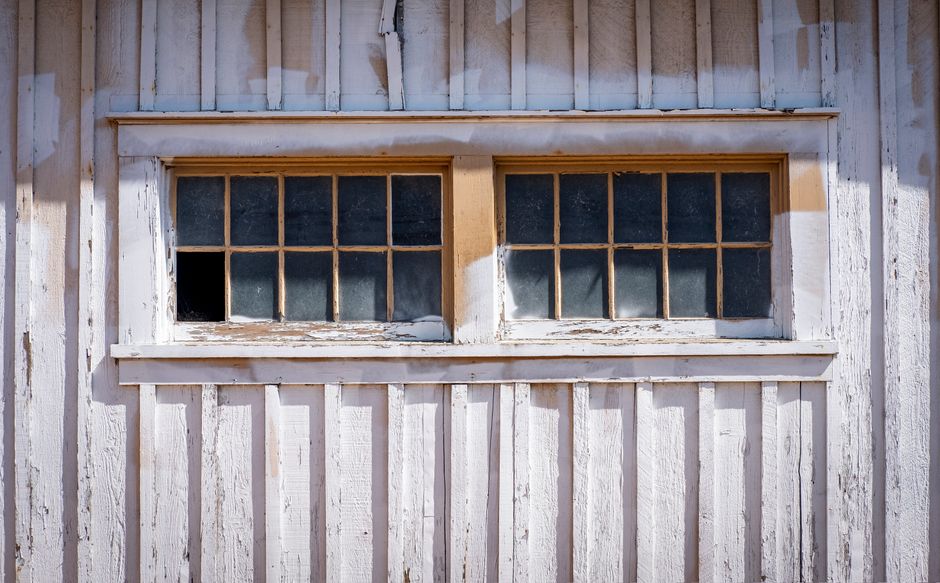
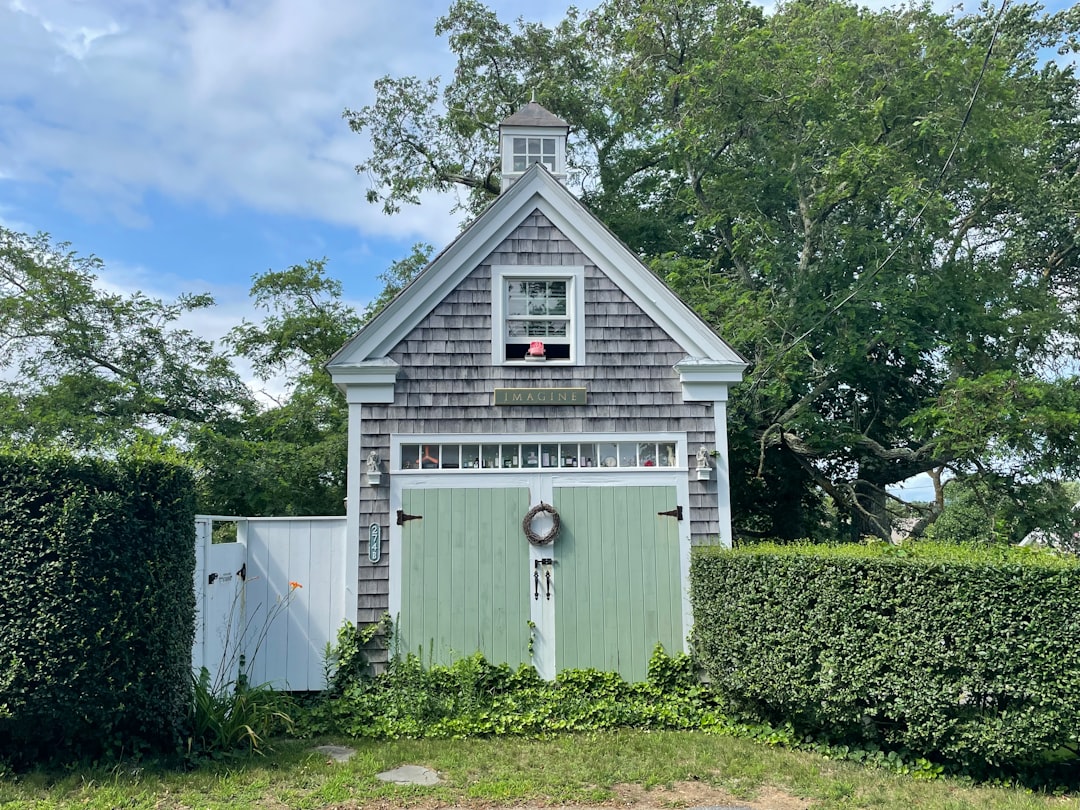
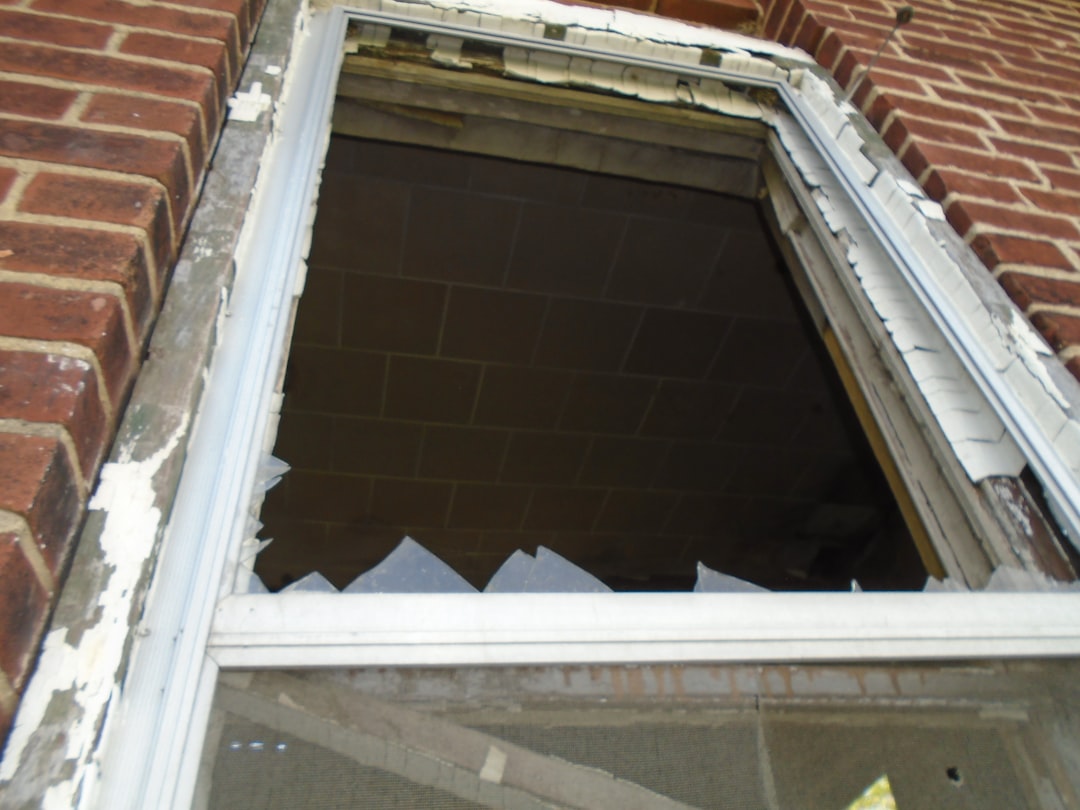
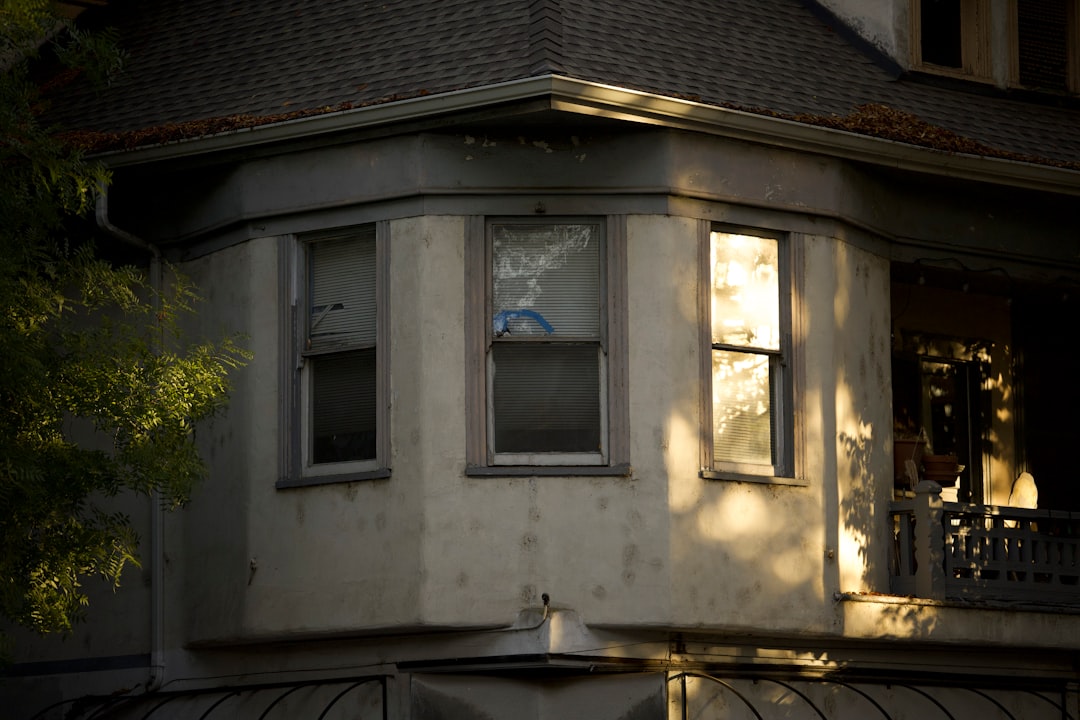
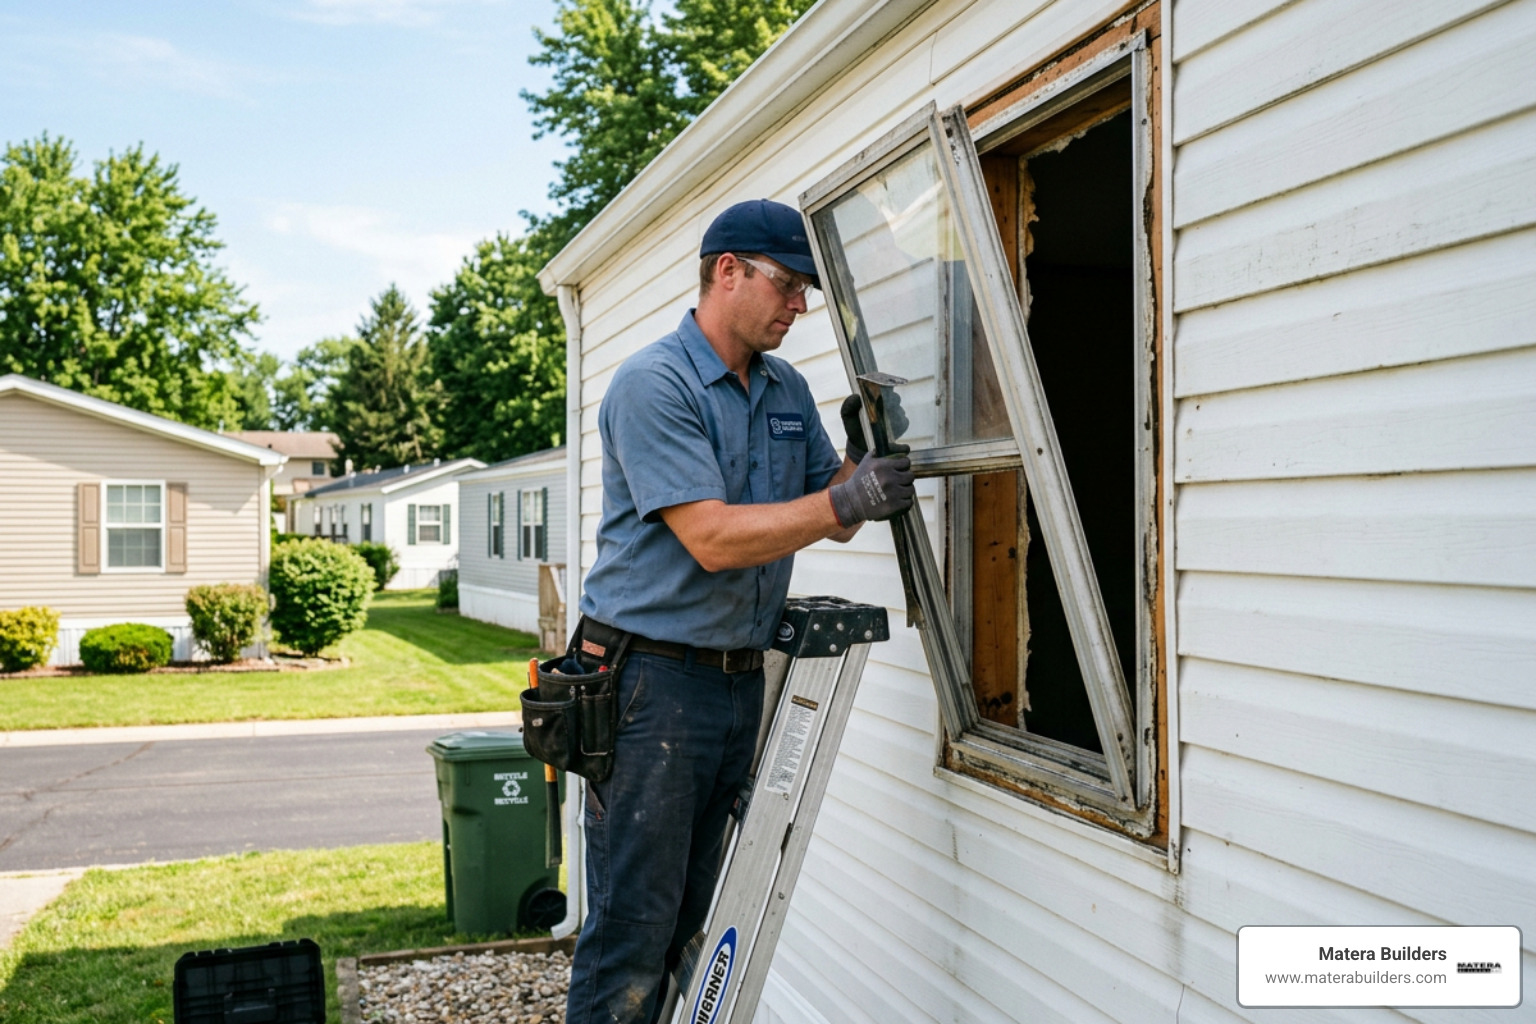
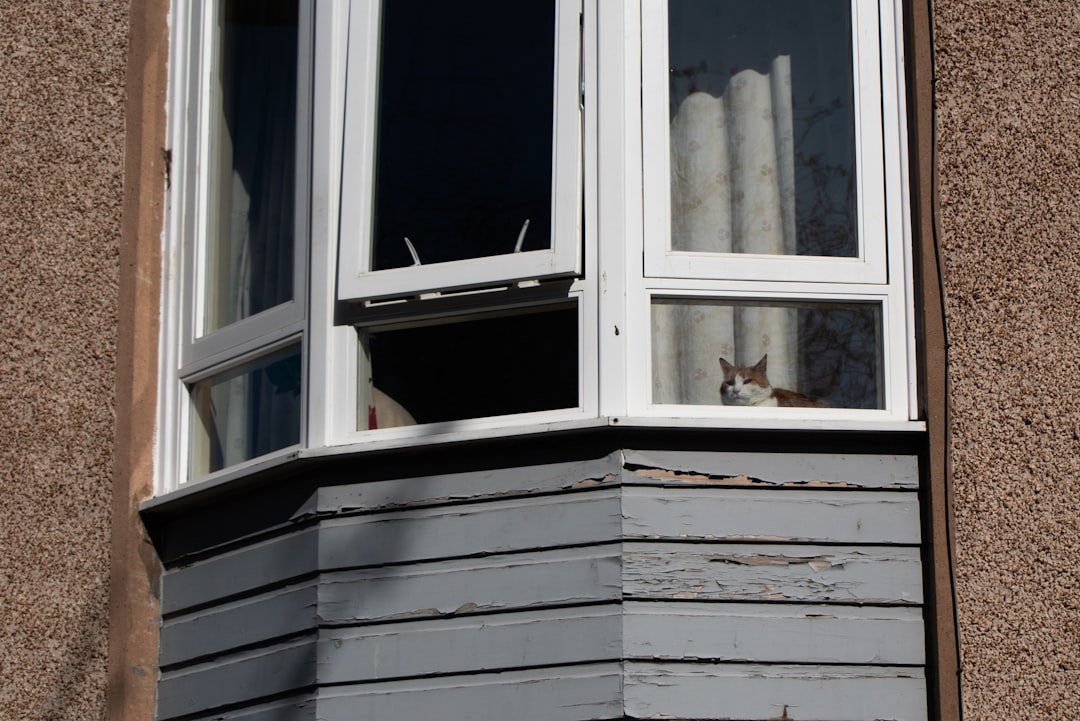
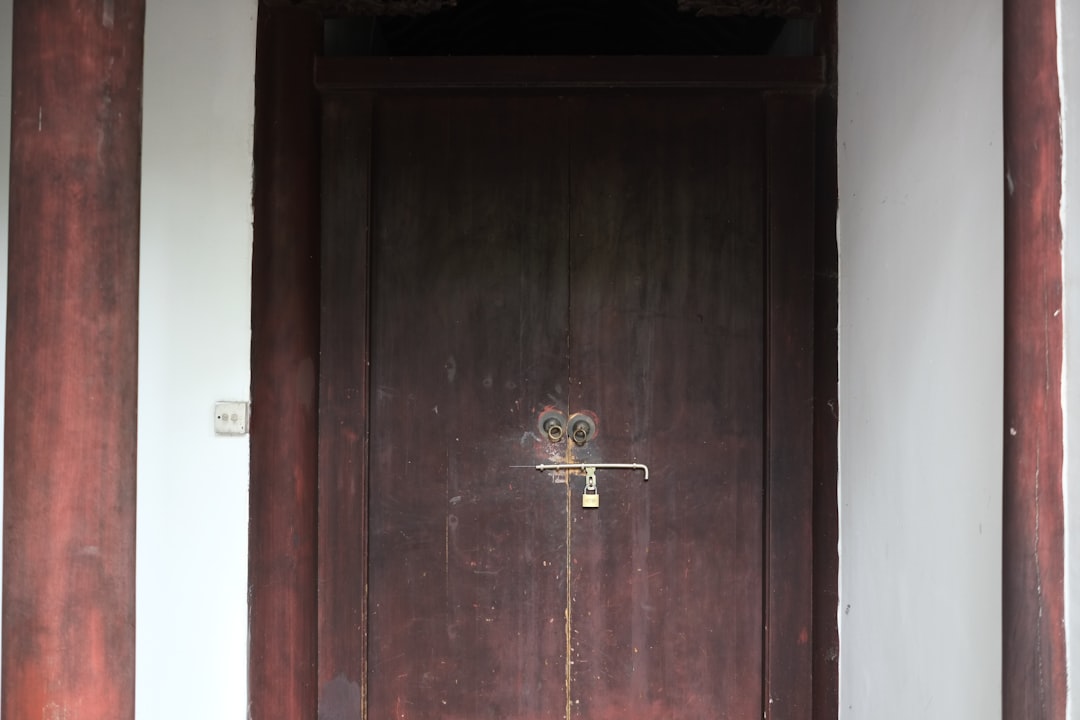
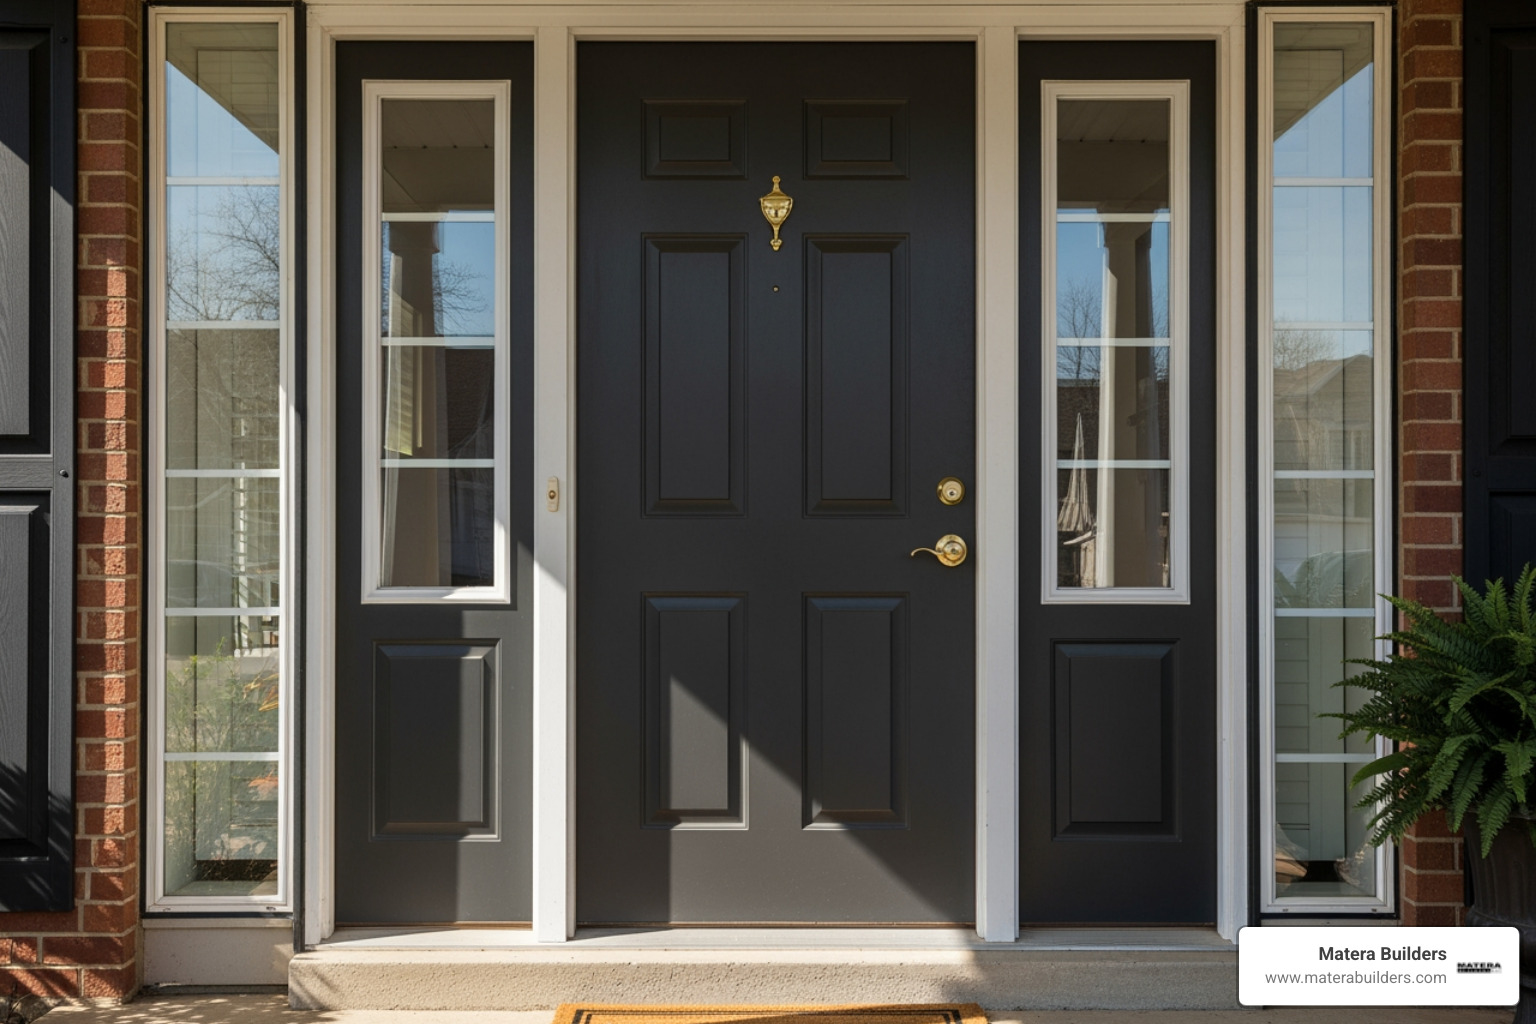
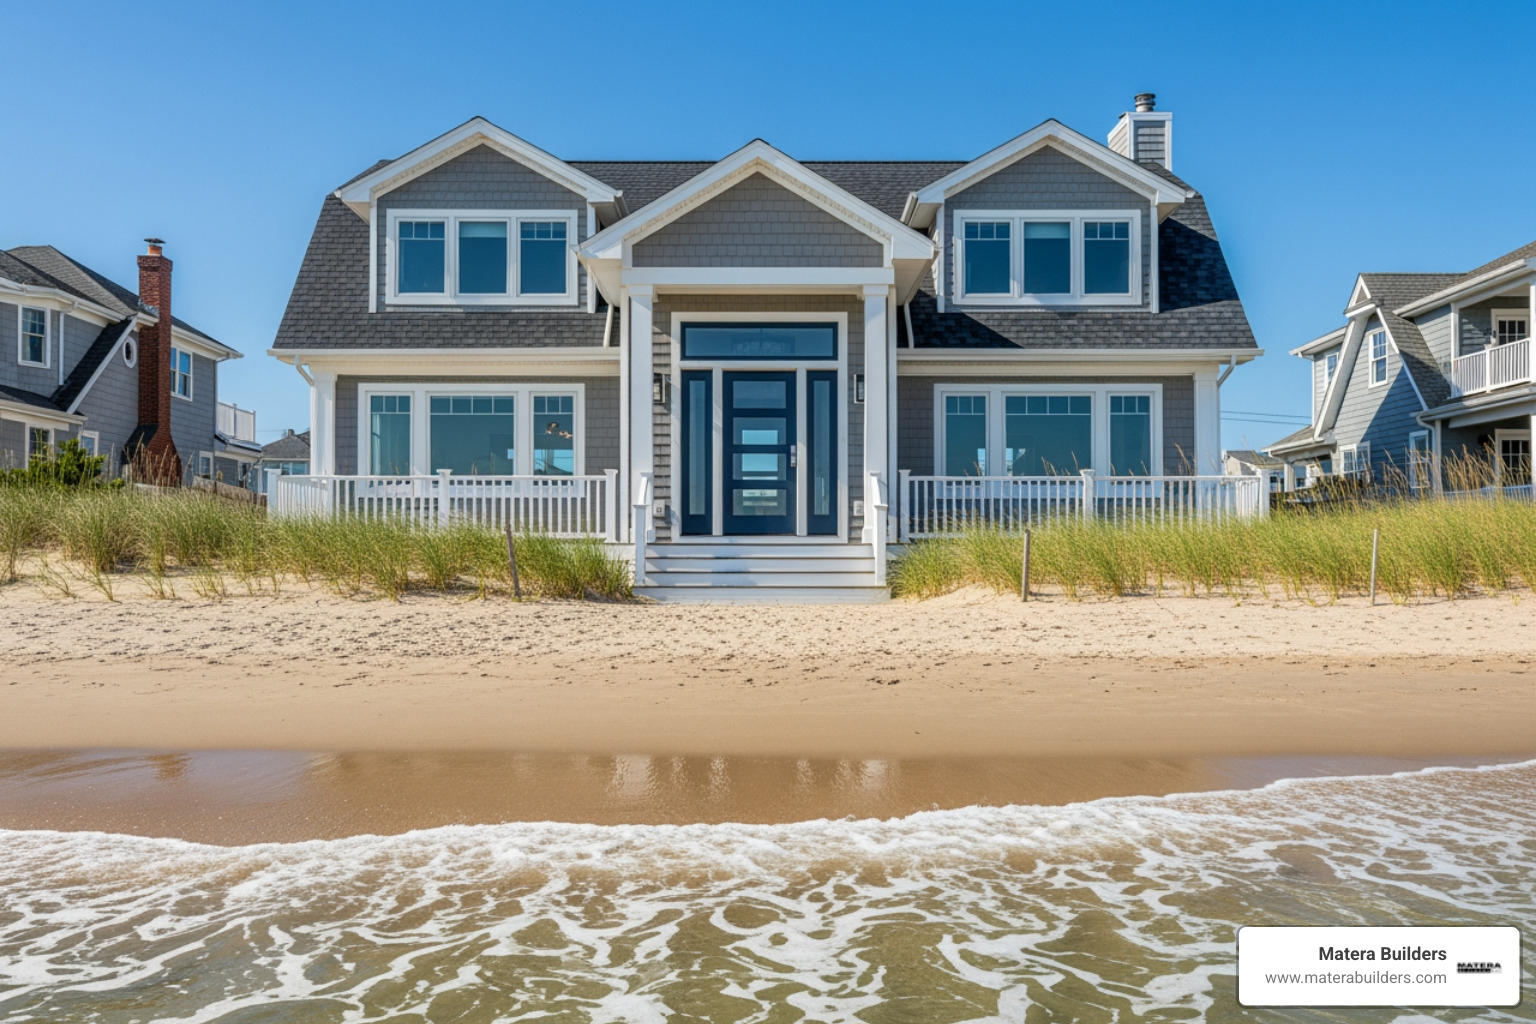
Most homeowners don't think about their entry door until something goes wrong. A draft creeps in on a January night. The frame starts to swell and the door won't close cleanly. You spot soft wood at the base of the jamb — a sign that water has been getting in for longer than you'd like to admit. In coastal New Jersey, salt air and humidity accelerate every one of these problems.
The door itself is only part of the equation. How it's installed determines whether it performs for 5 years or 30.
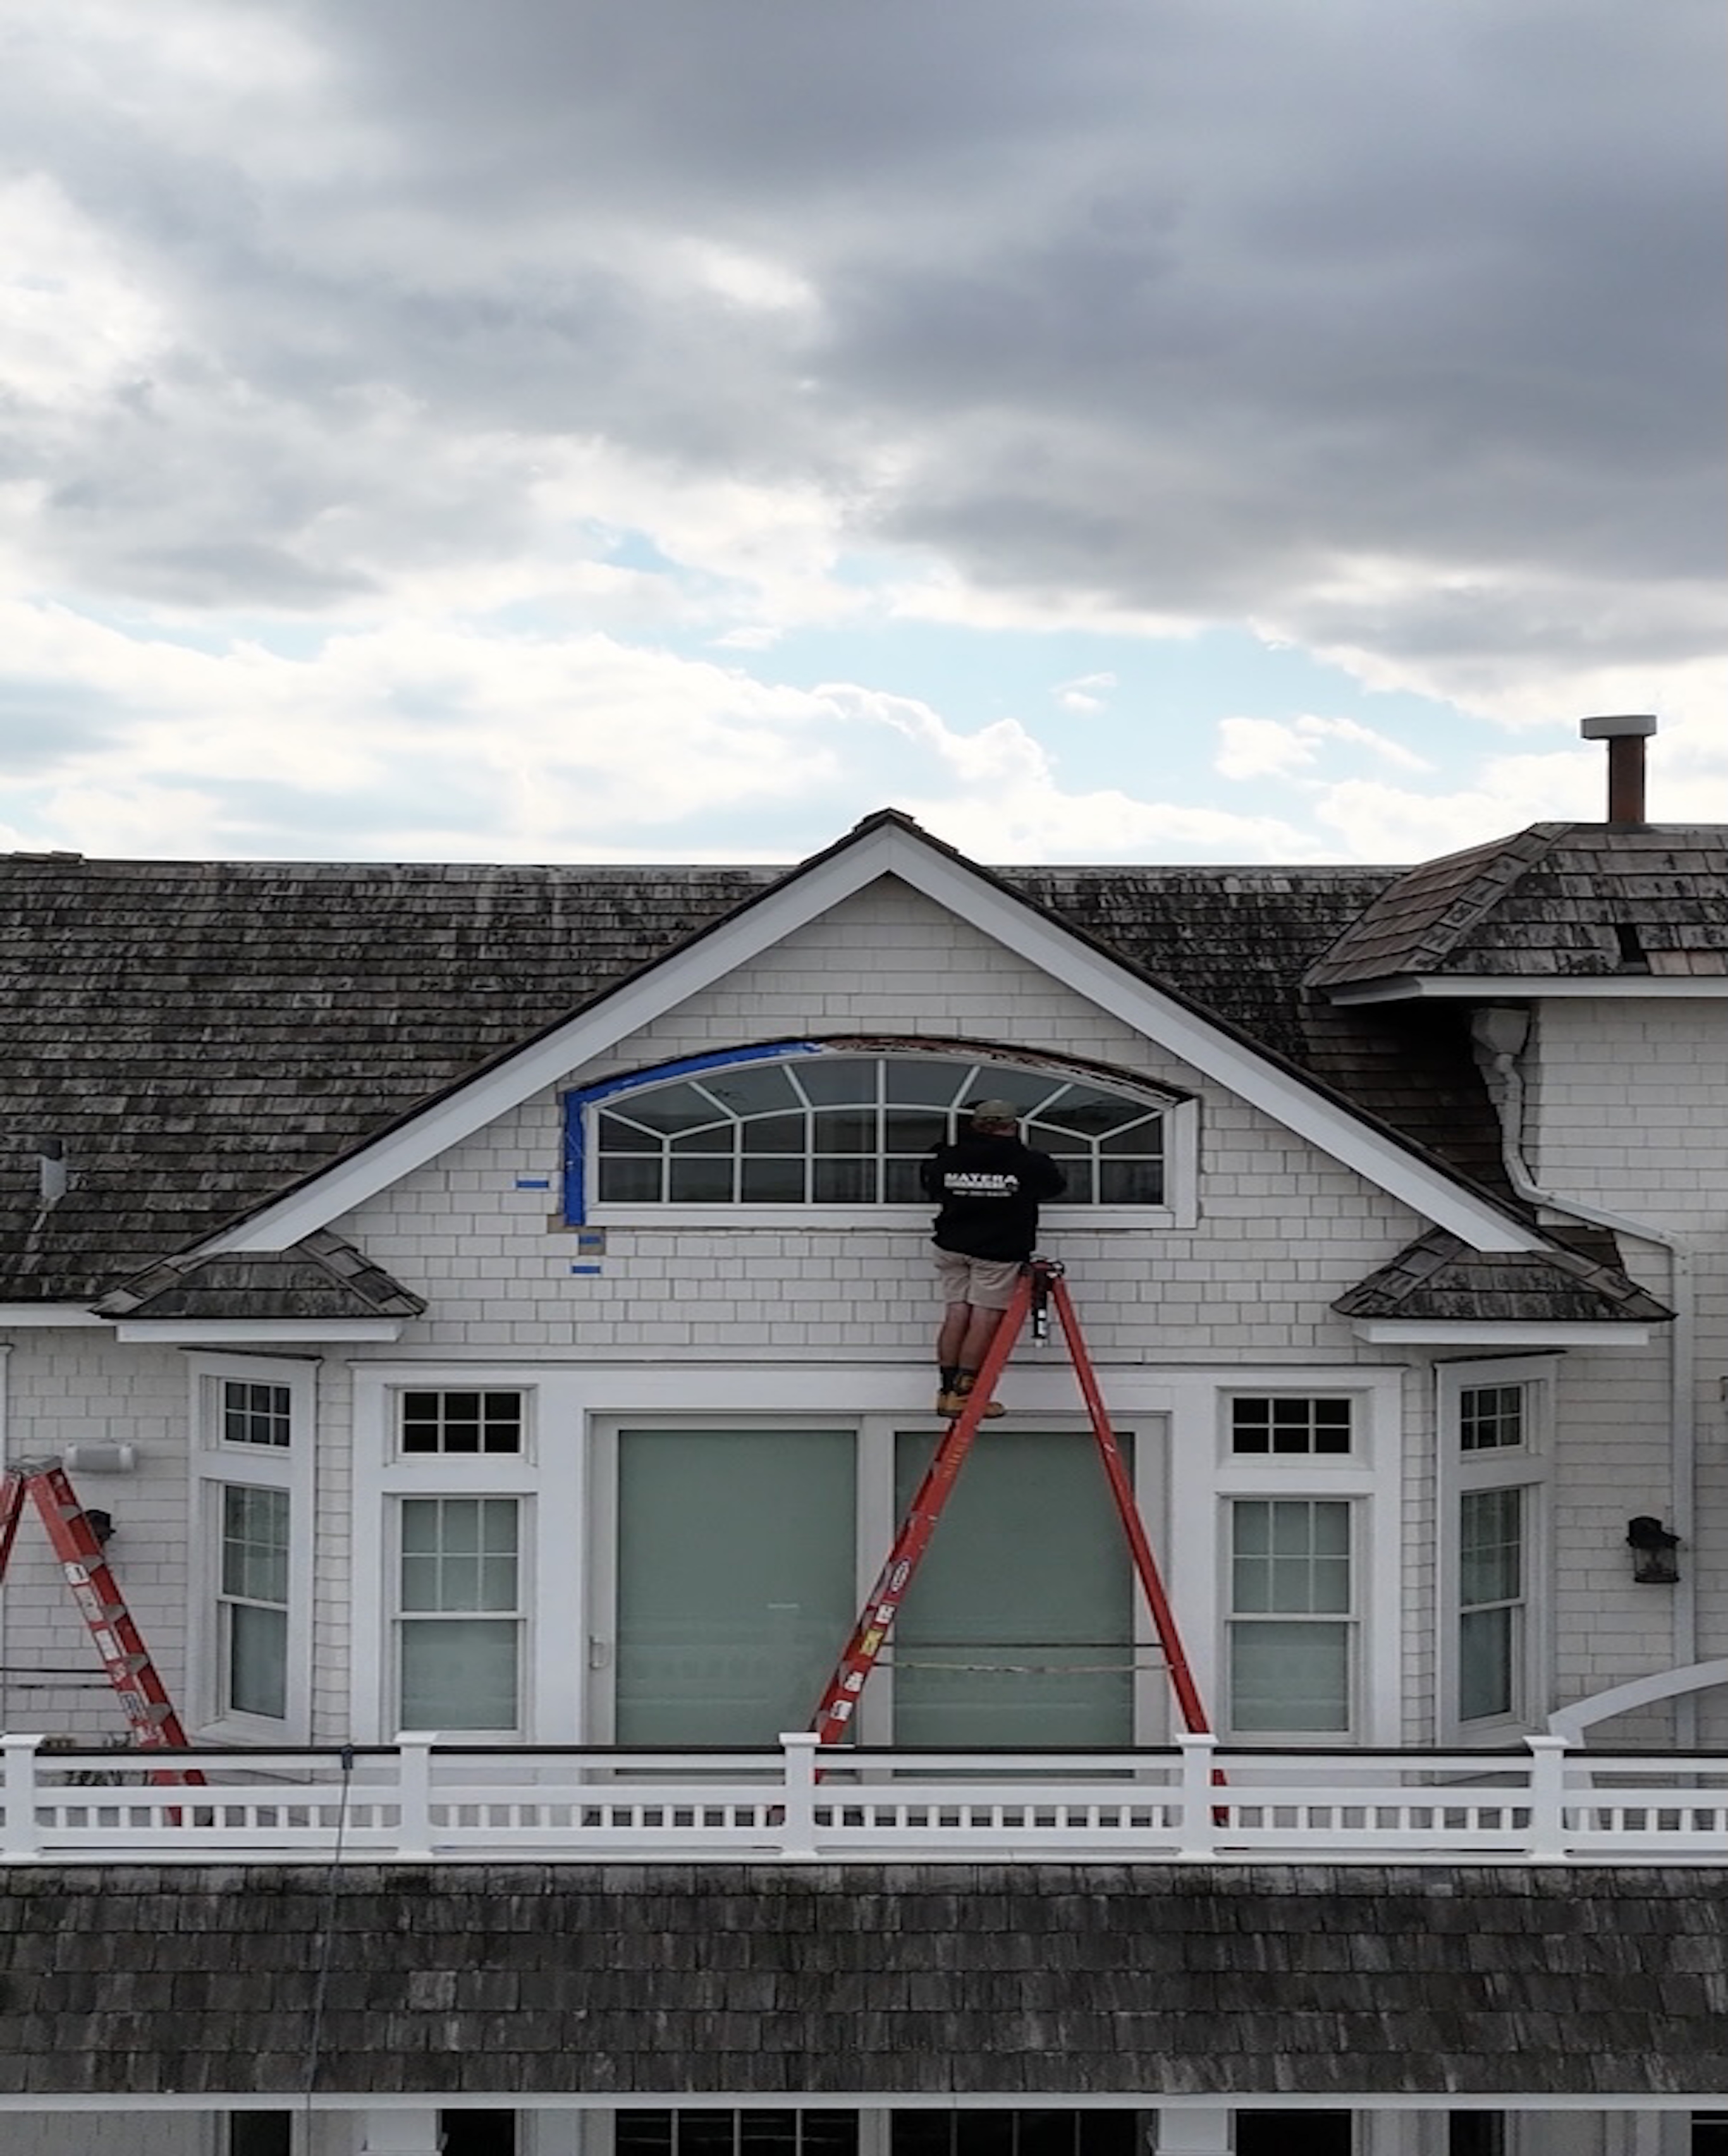
I'm Mike Werner, Owner and CEO of Matera Builders, a residential exterior renovation company specializing in high-end door and window replacements in coastal markets. Custom entry door installation is a core part of what we do every day — from precise rough opening prep to long-term weatherproofing in demanding coastal environments. In this guide, I'll walk you through everything you need to know to get it right.

Planning Your Custom Entry Door Installation
Before you even pick out a paint color or a handle set, you have to understand the hole in your wall. This is the "rough opening." If the rough opening isn't square or if the subfloor is rotting, even a $10,000 custom door will fail.
One of the most common points of confusion for homeowners is "door handing." Getting this wrong means your door might swing into a wall or block a hallway. To determine the handing, stand with your back to the hinge side of the jamb. If the door swings to your left, it’s a left-handed door. If it swings to your right, it’s right-handed.
You also need to decide between an inswing or an outswing door. In New Jersey, most residential front doors are inswing. This keeps the hinges on the inside of the home, protecting them from salt air and making them more secure against intruders. However, outswing doors are incredibly effective at resisting high wind pressures because the wind actually pushes the door tighter against the weatherstripping.
For a deeper dive into these technicalities, check out this video on Inswing vs Outswing and Door Handing, Explained.
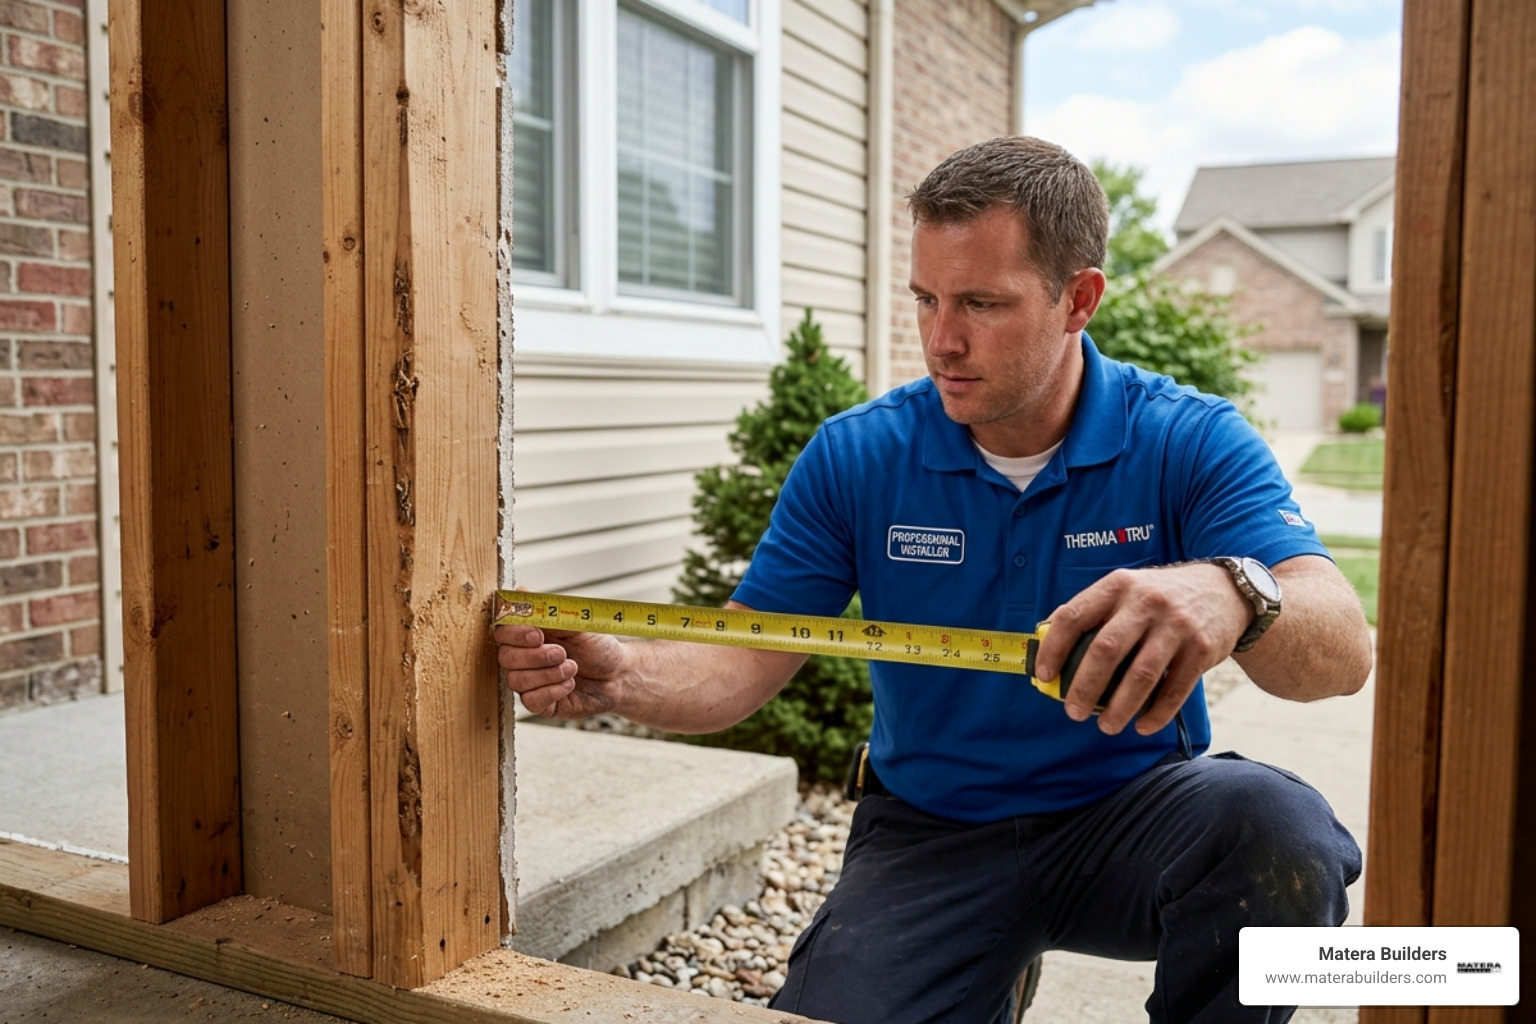
Measuring for a Custom Entry Door Installation
Precision is everything here. We don't measure once; we measure in three places for both width and height. Use the smallest of those three measurements to ensure the new unit will actually fit into the space.
- Width: Measure at the top, middle, and bottom of the opening.
- Height: Measure from the bottom of the sill to the top of the header on the left, center, and right.
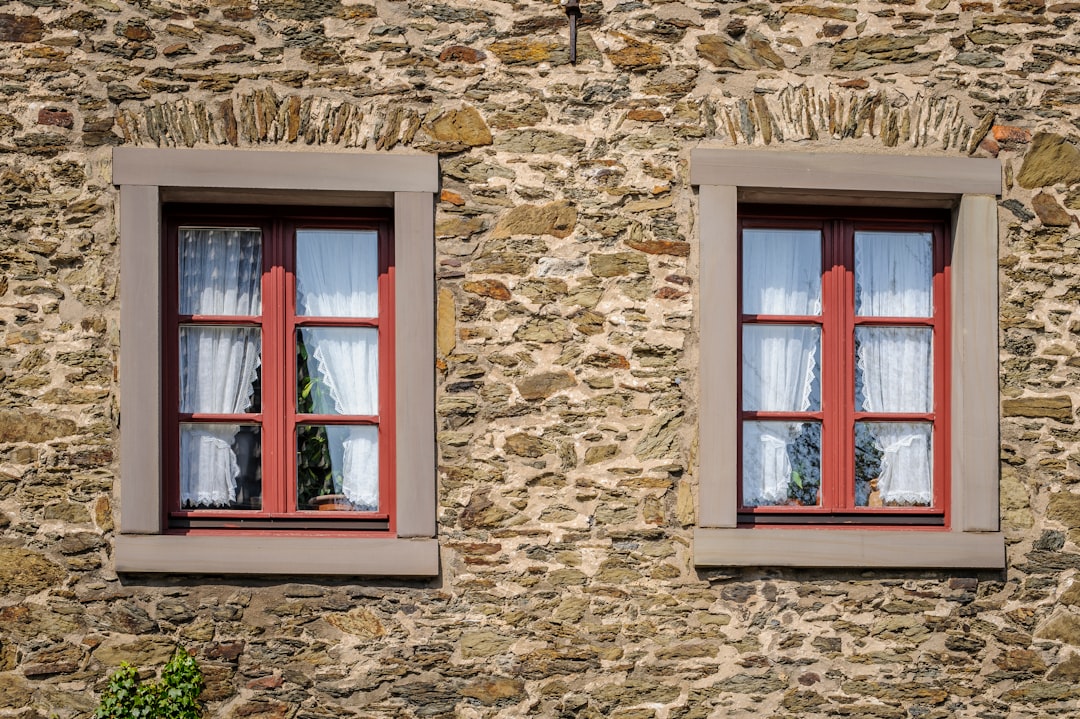
- Jamb Depth: This is the thickness of your wall. Standard walls are usually 4-9/16 inches, but older homes in Ocean City or the Jersey Shore often have non-standard wall thicknesses that require custom extension jambs.
A good rule of thumb is that your new door frame should be about 1/2 inch to 3/4 inch narrower and 1/2 inch shorter than the rough opening. This "wiggle room" allows us to shim the door until it is perfectly level and plumb.
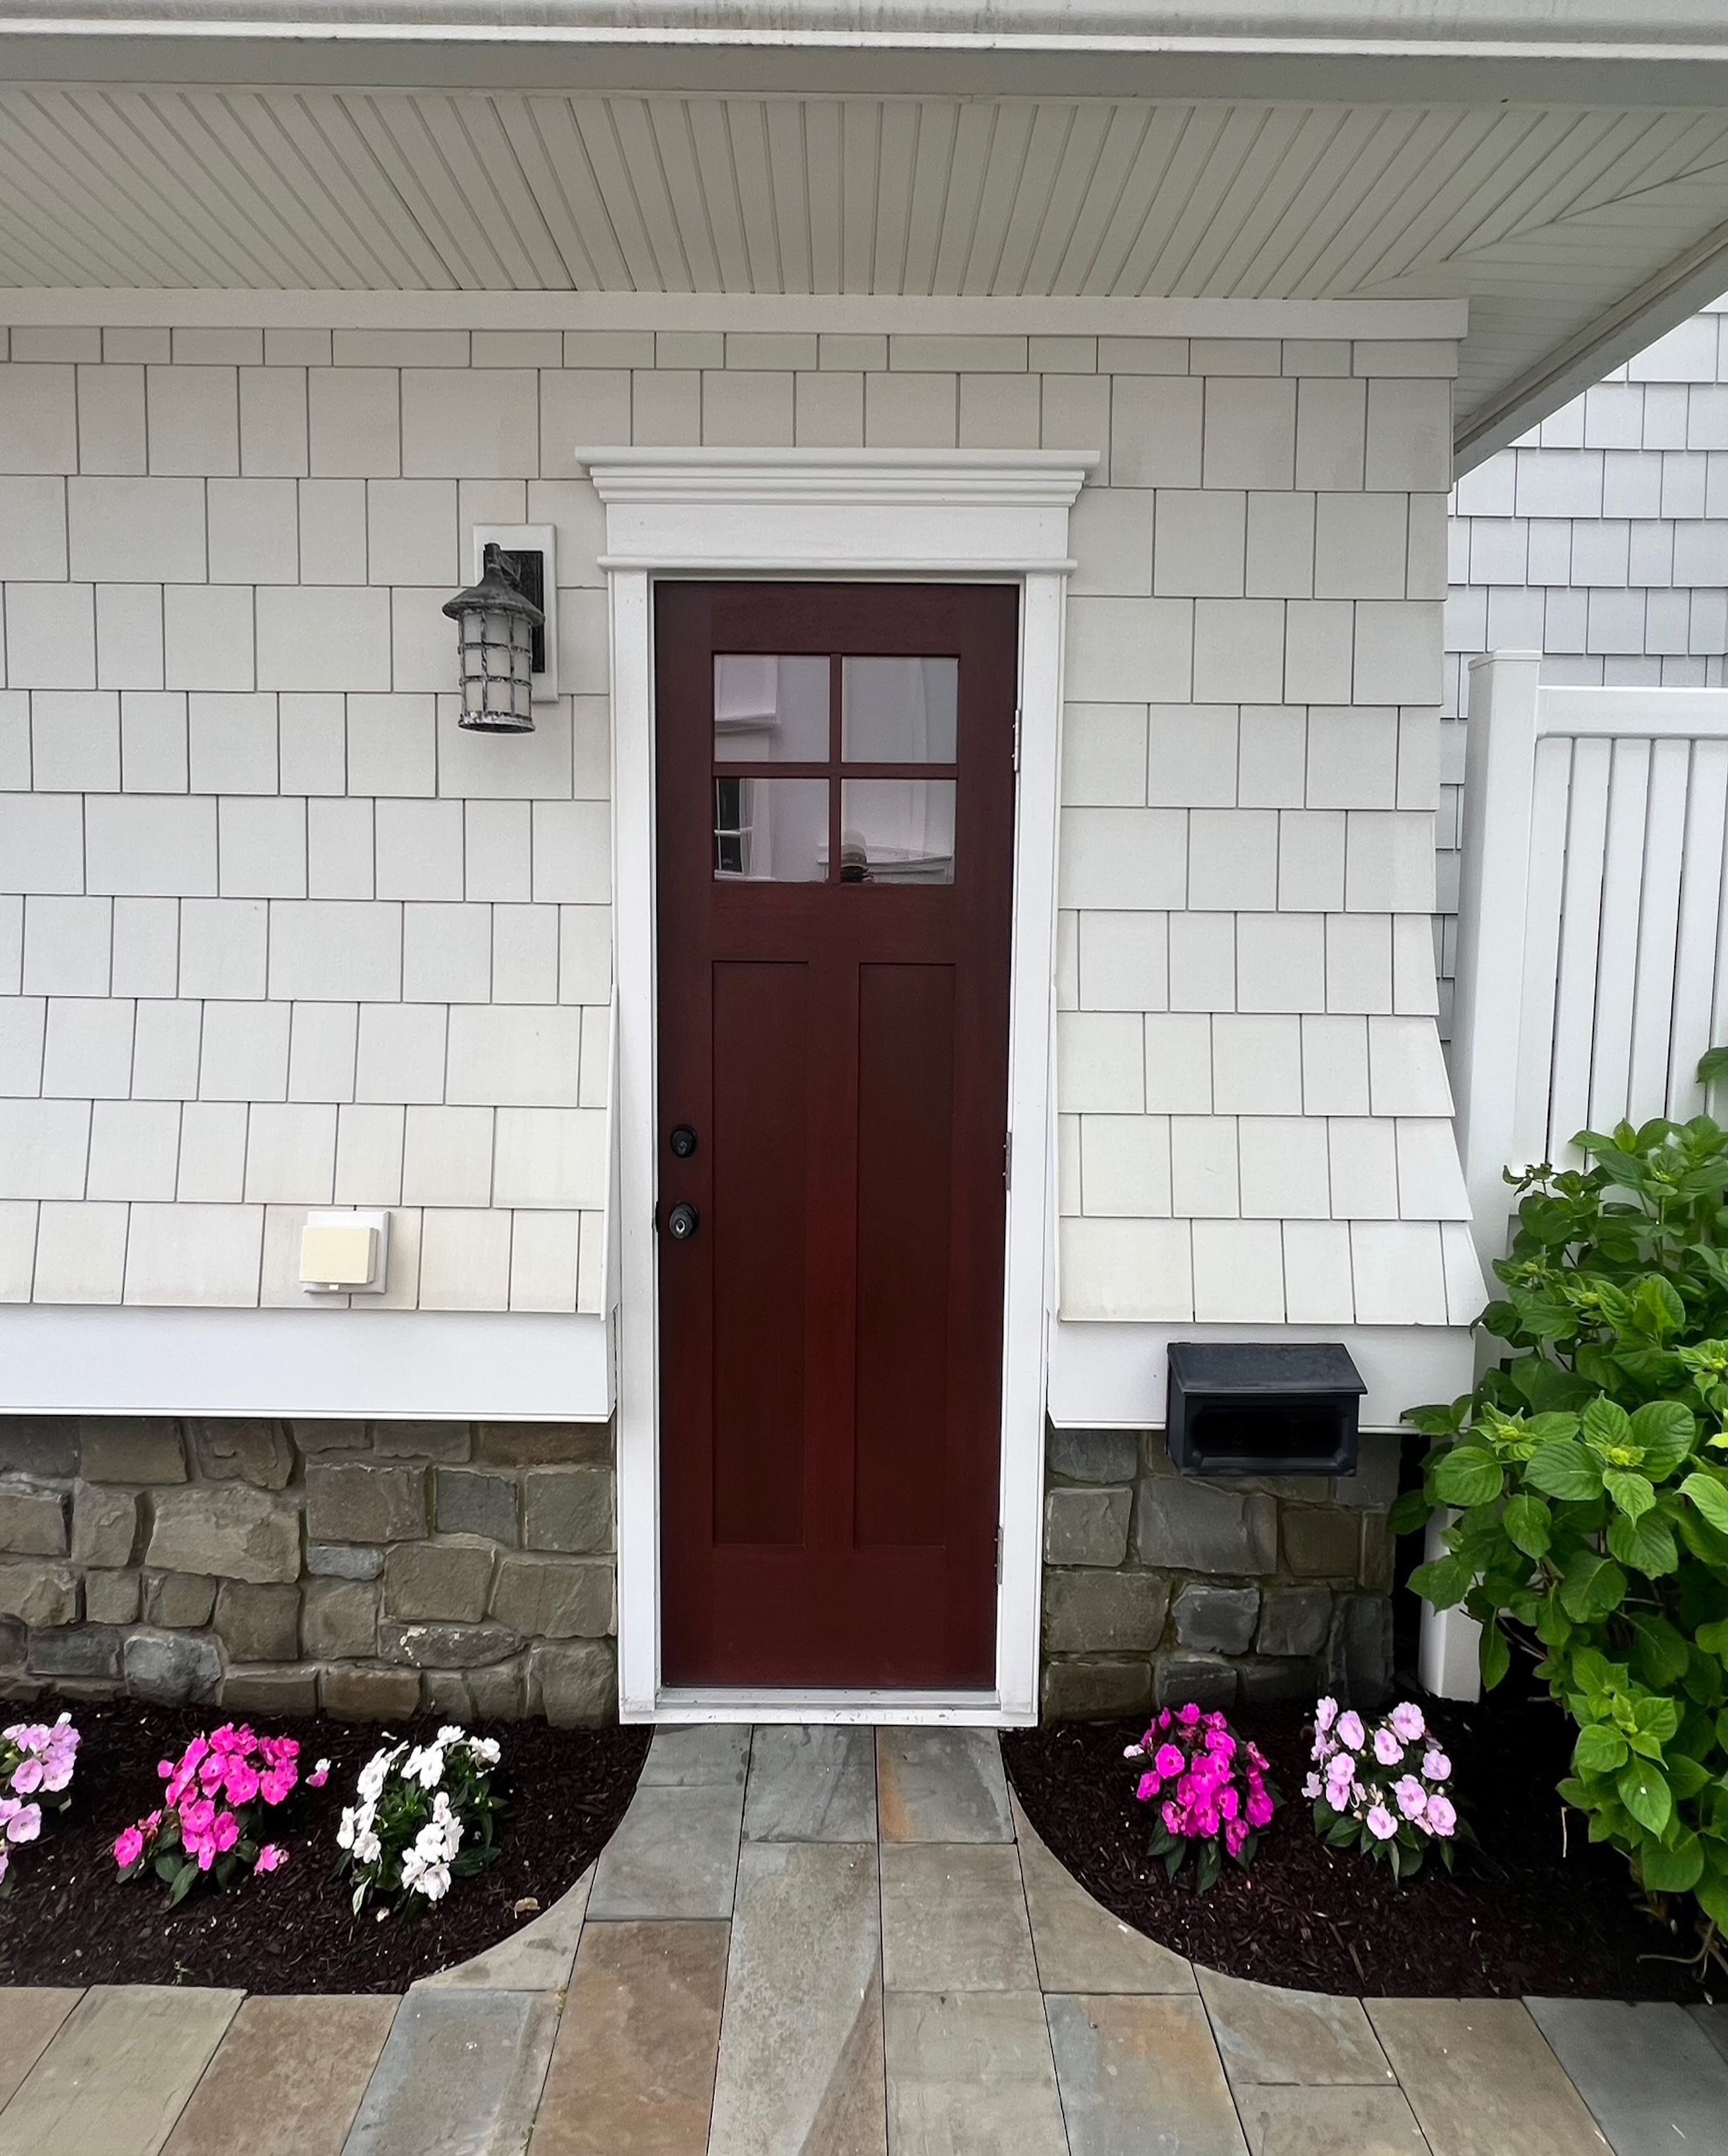
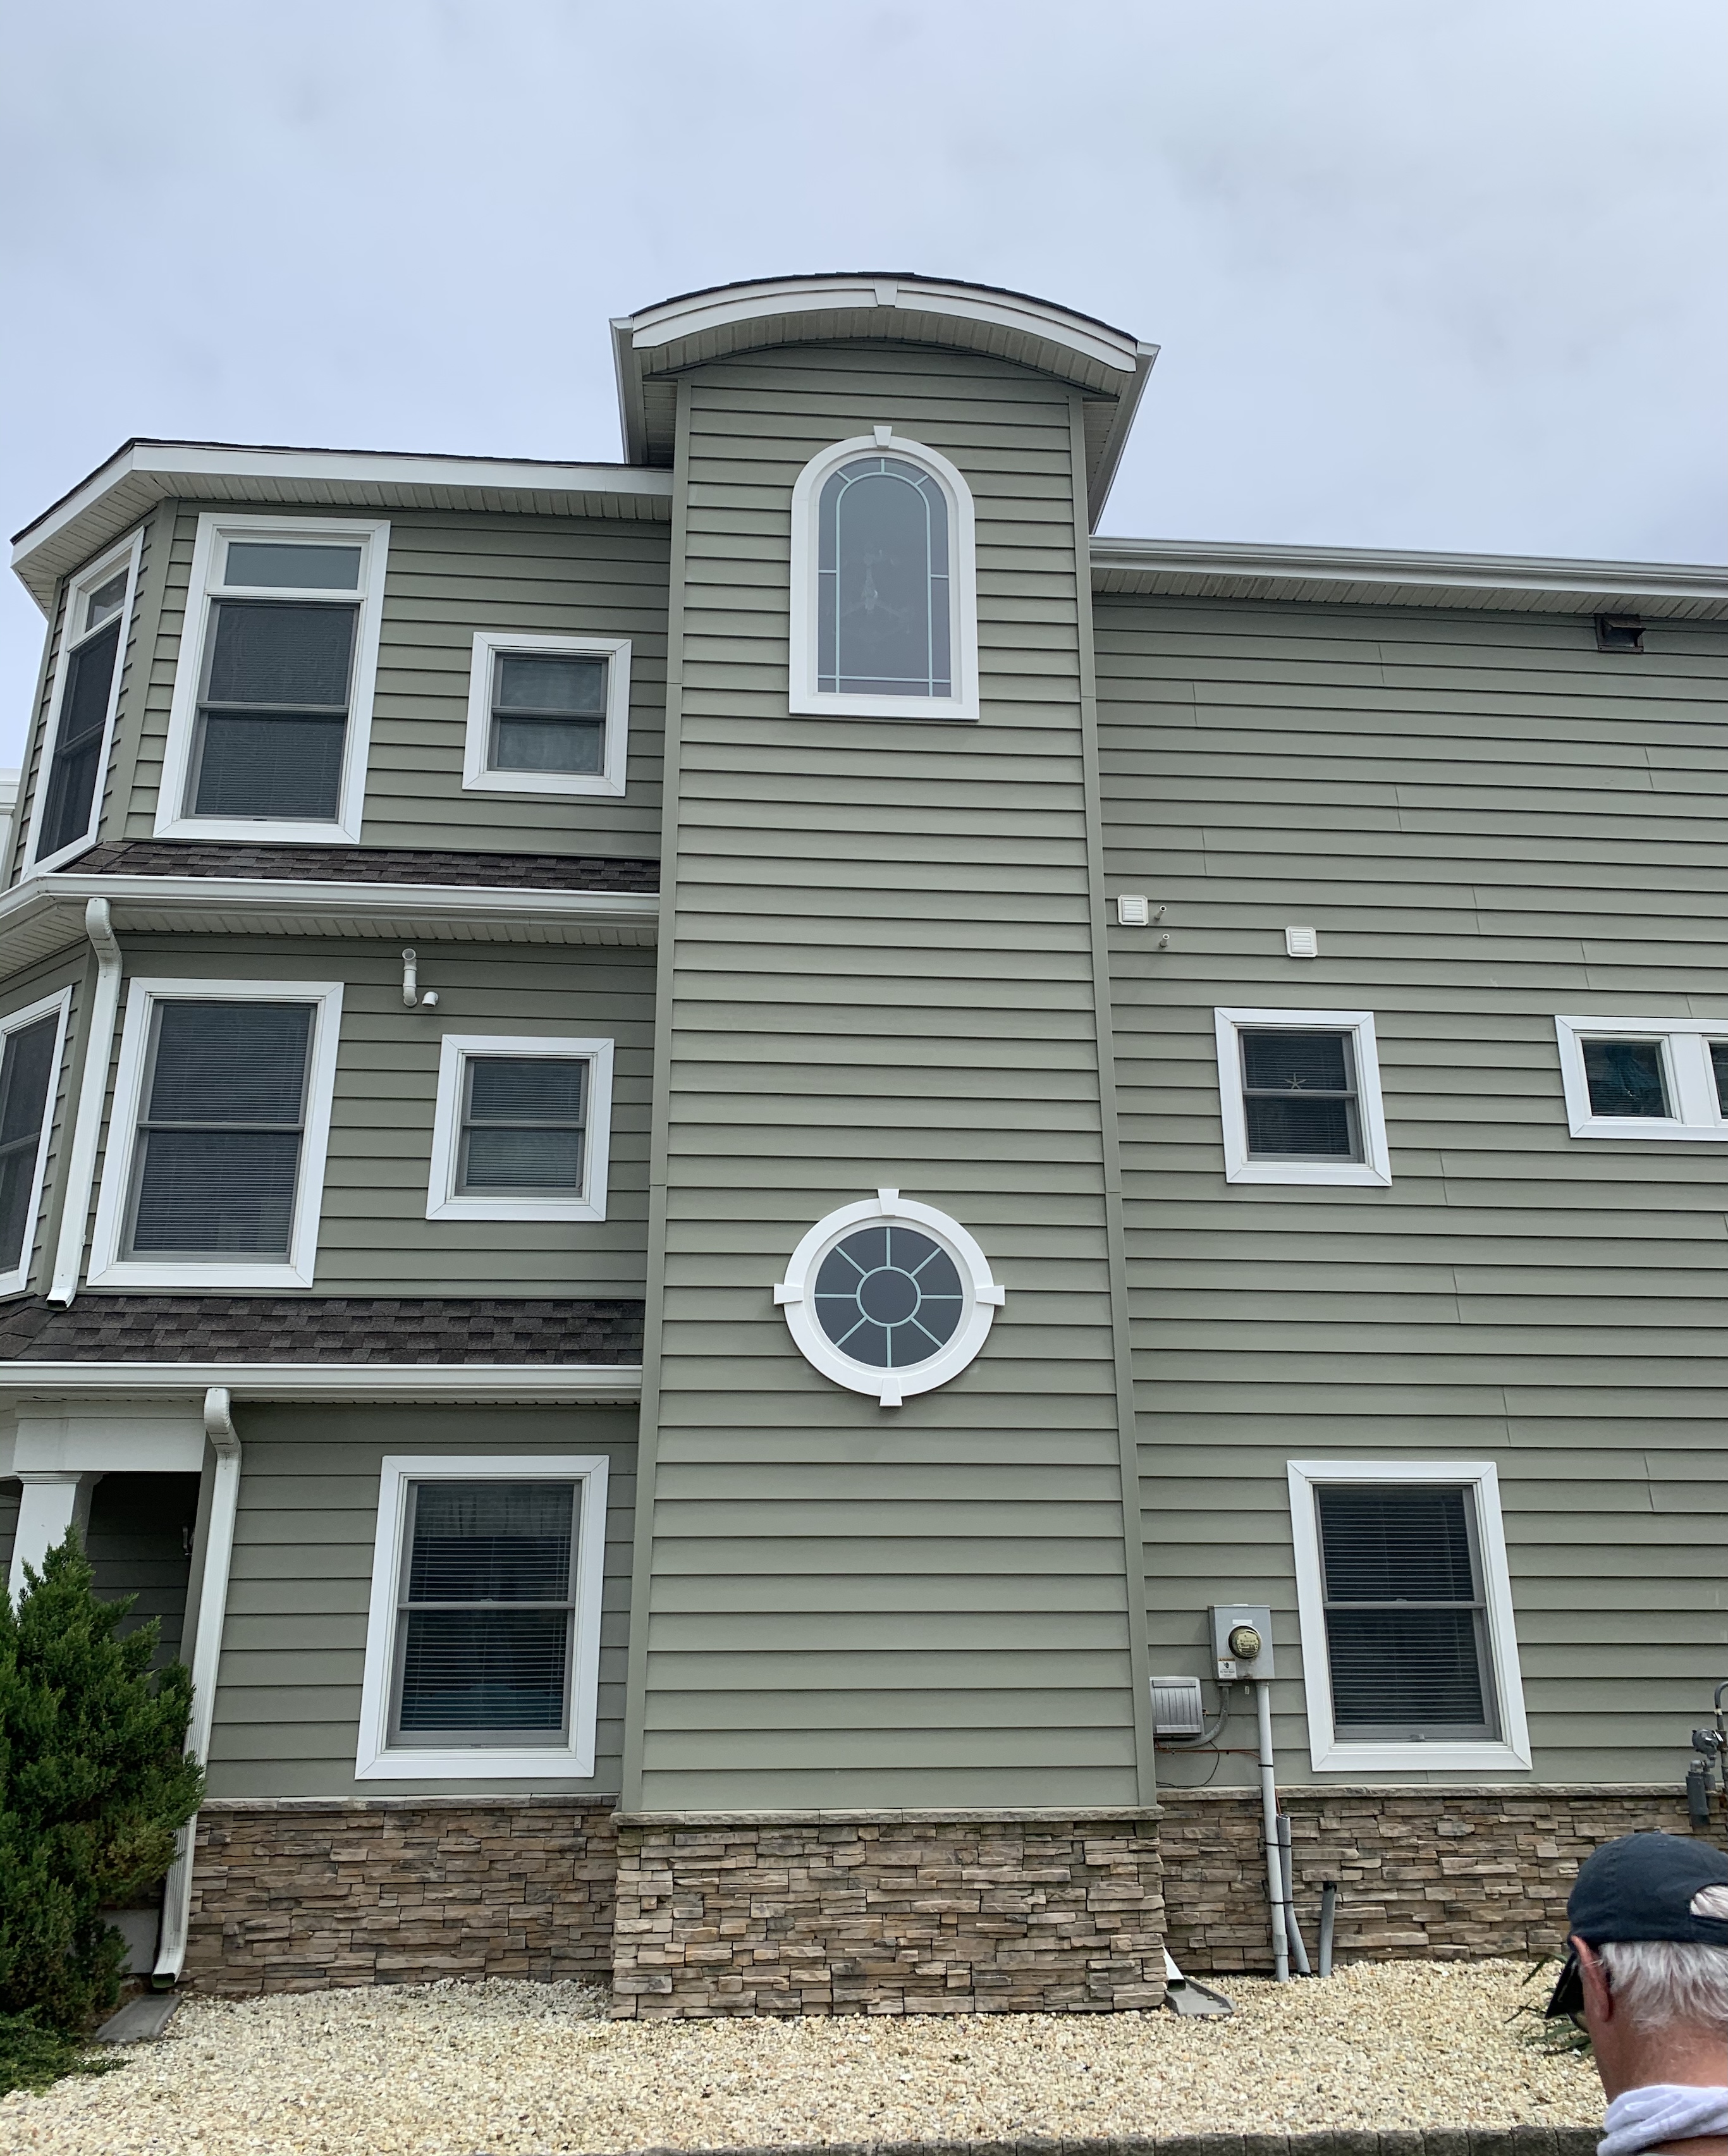
Selecting Materials for Coastal Durability
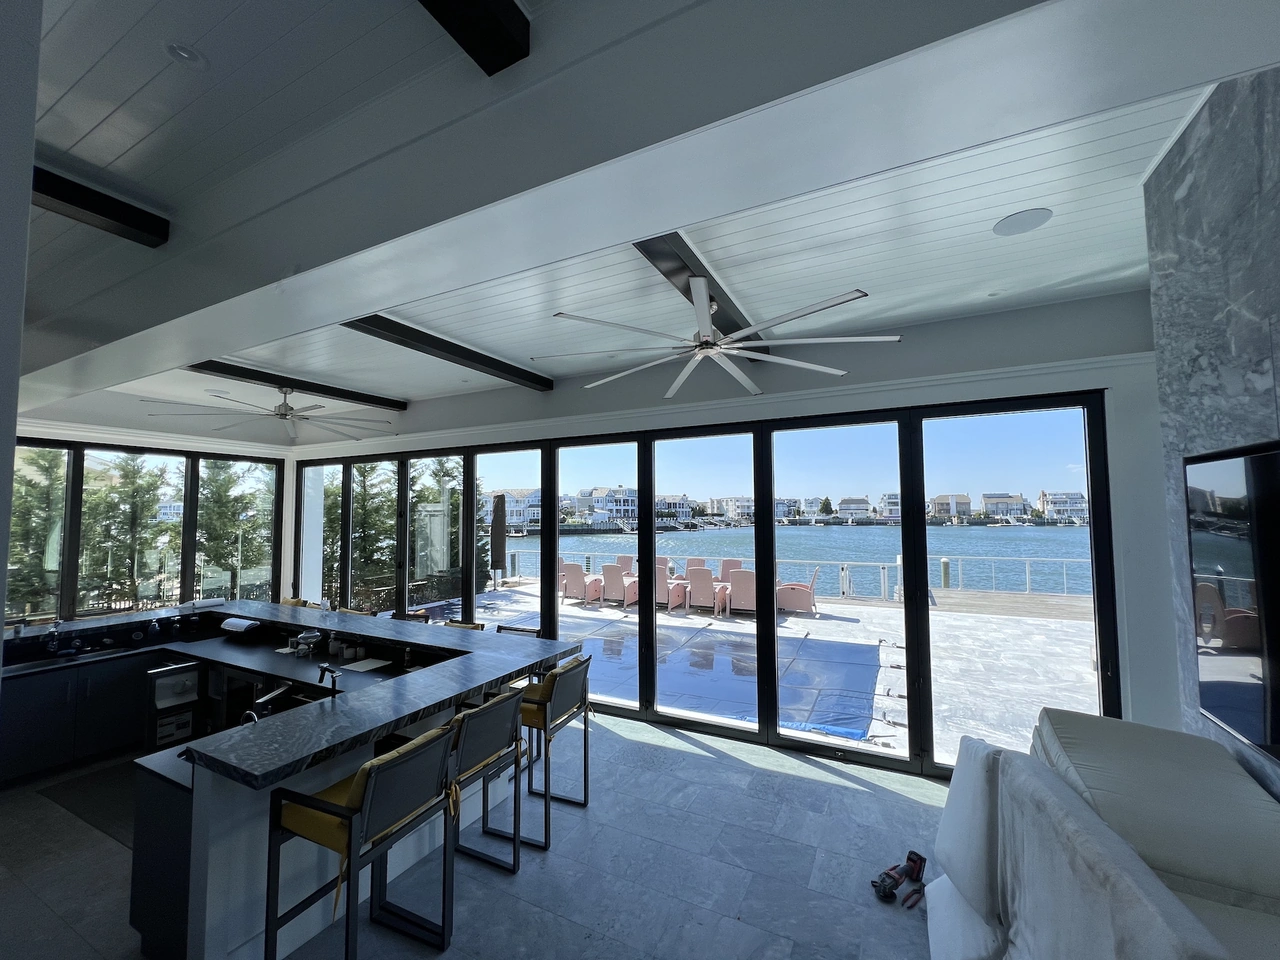
Living near the Atlantic Ocean means your door faces a constant barrage of salt spray, high humidity, and intense sun. The material you choose for your Custom entry door installation will dictate how much maintenance you'll be doing over the next decade.
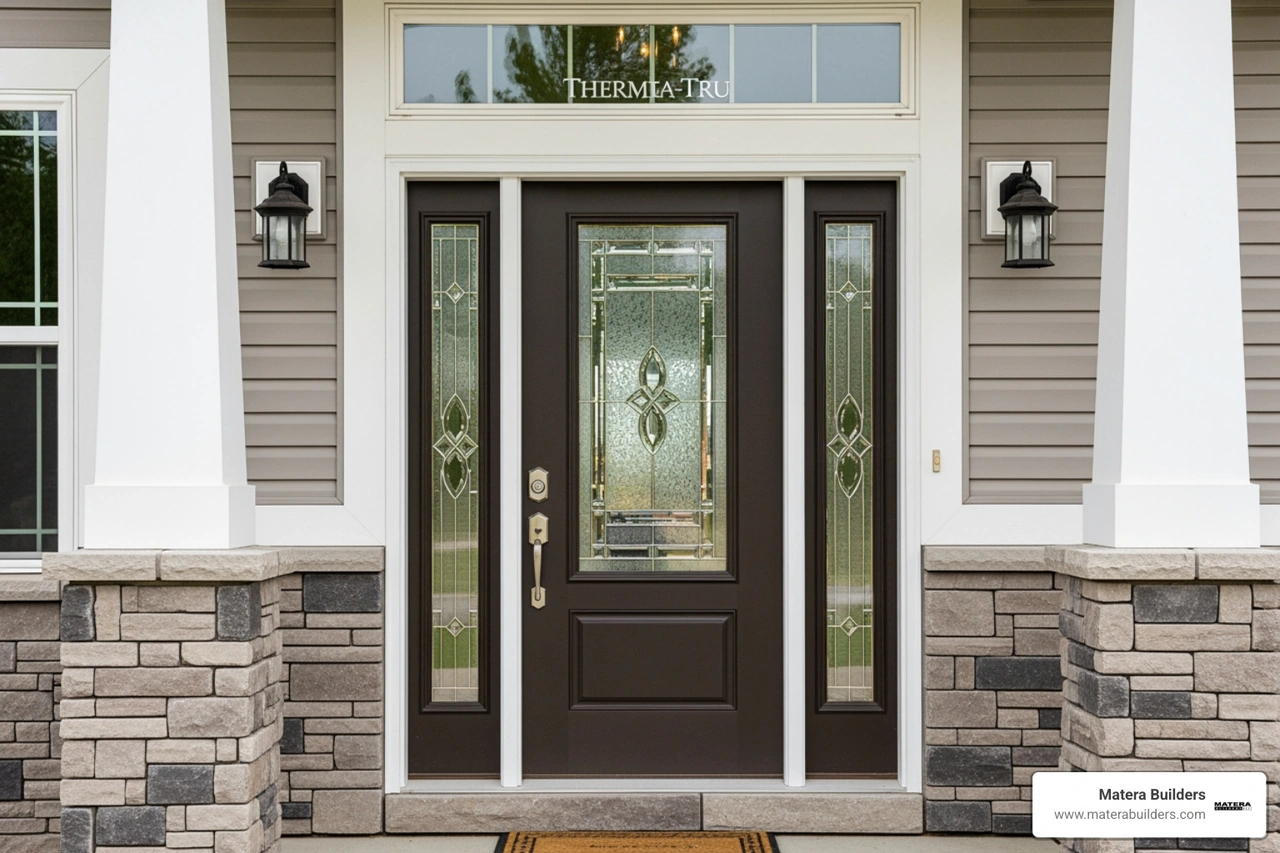
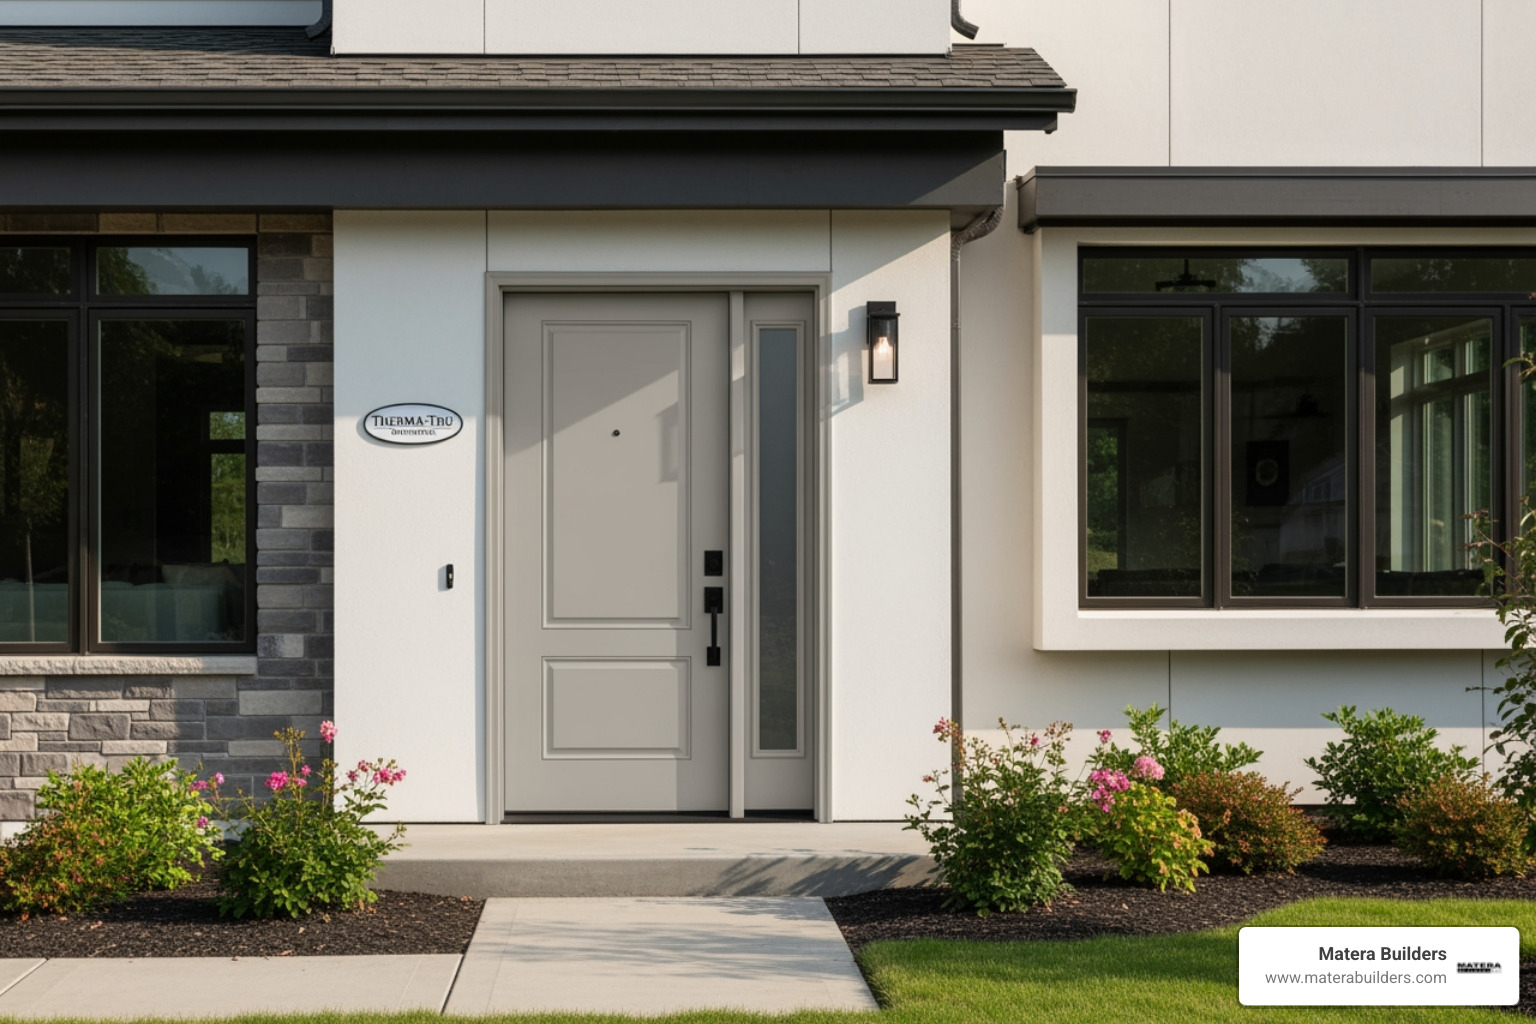
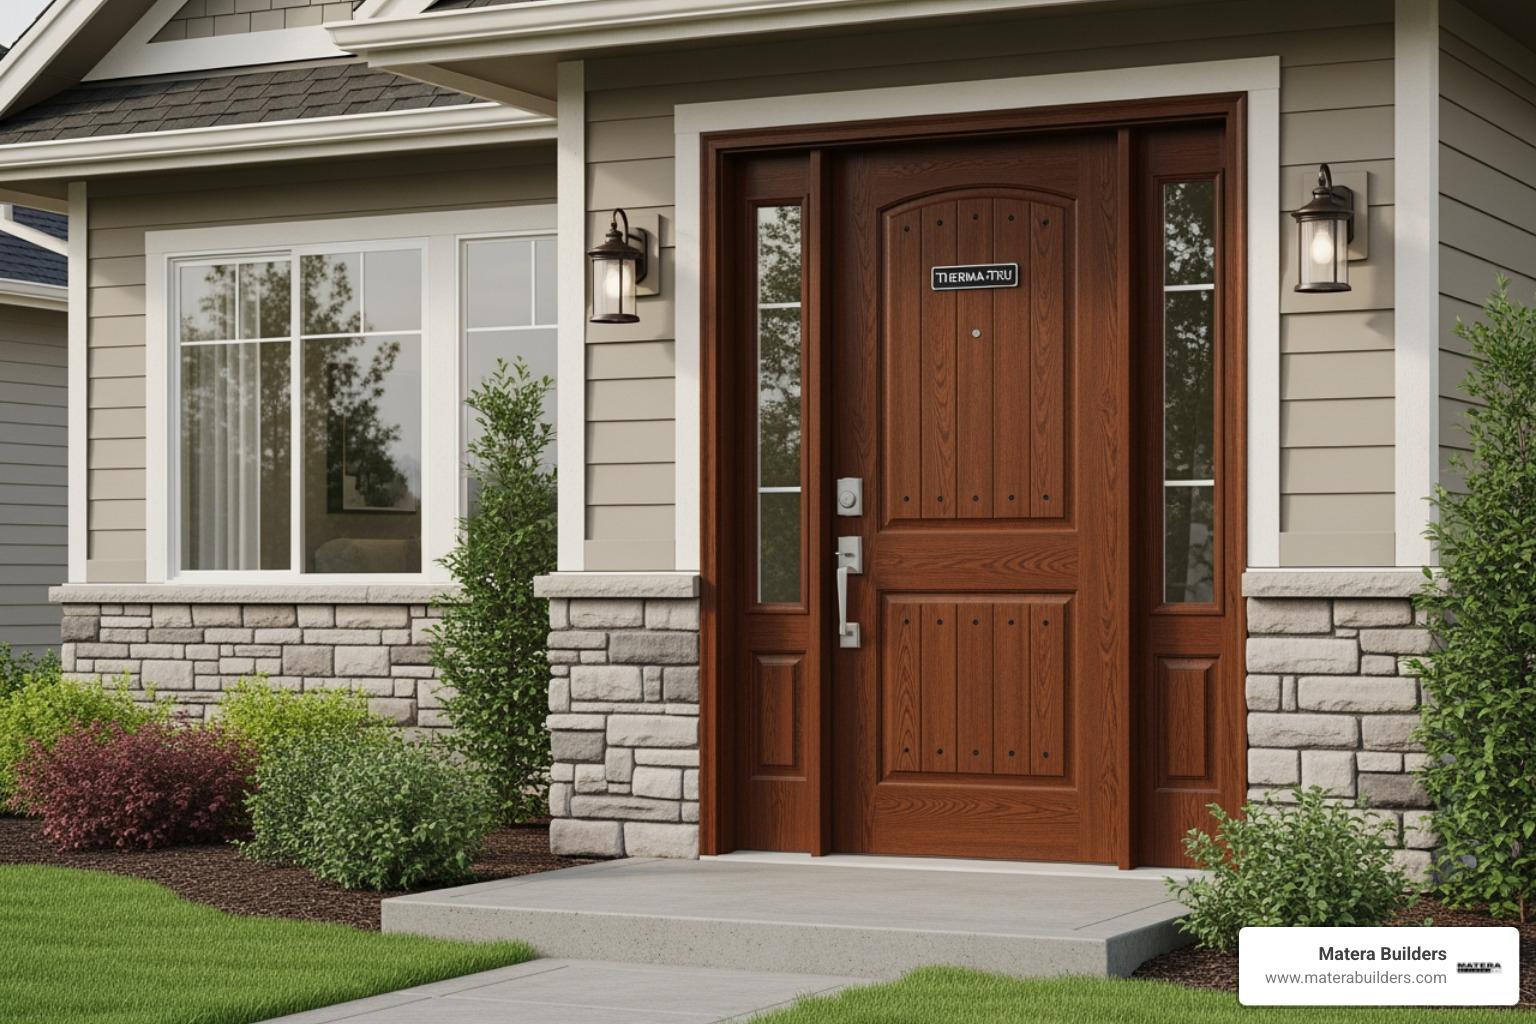
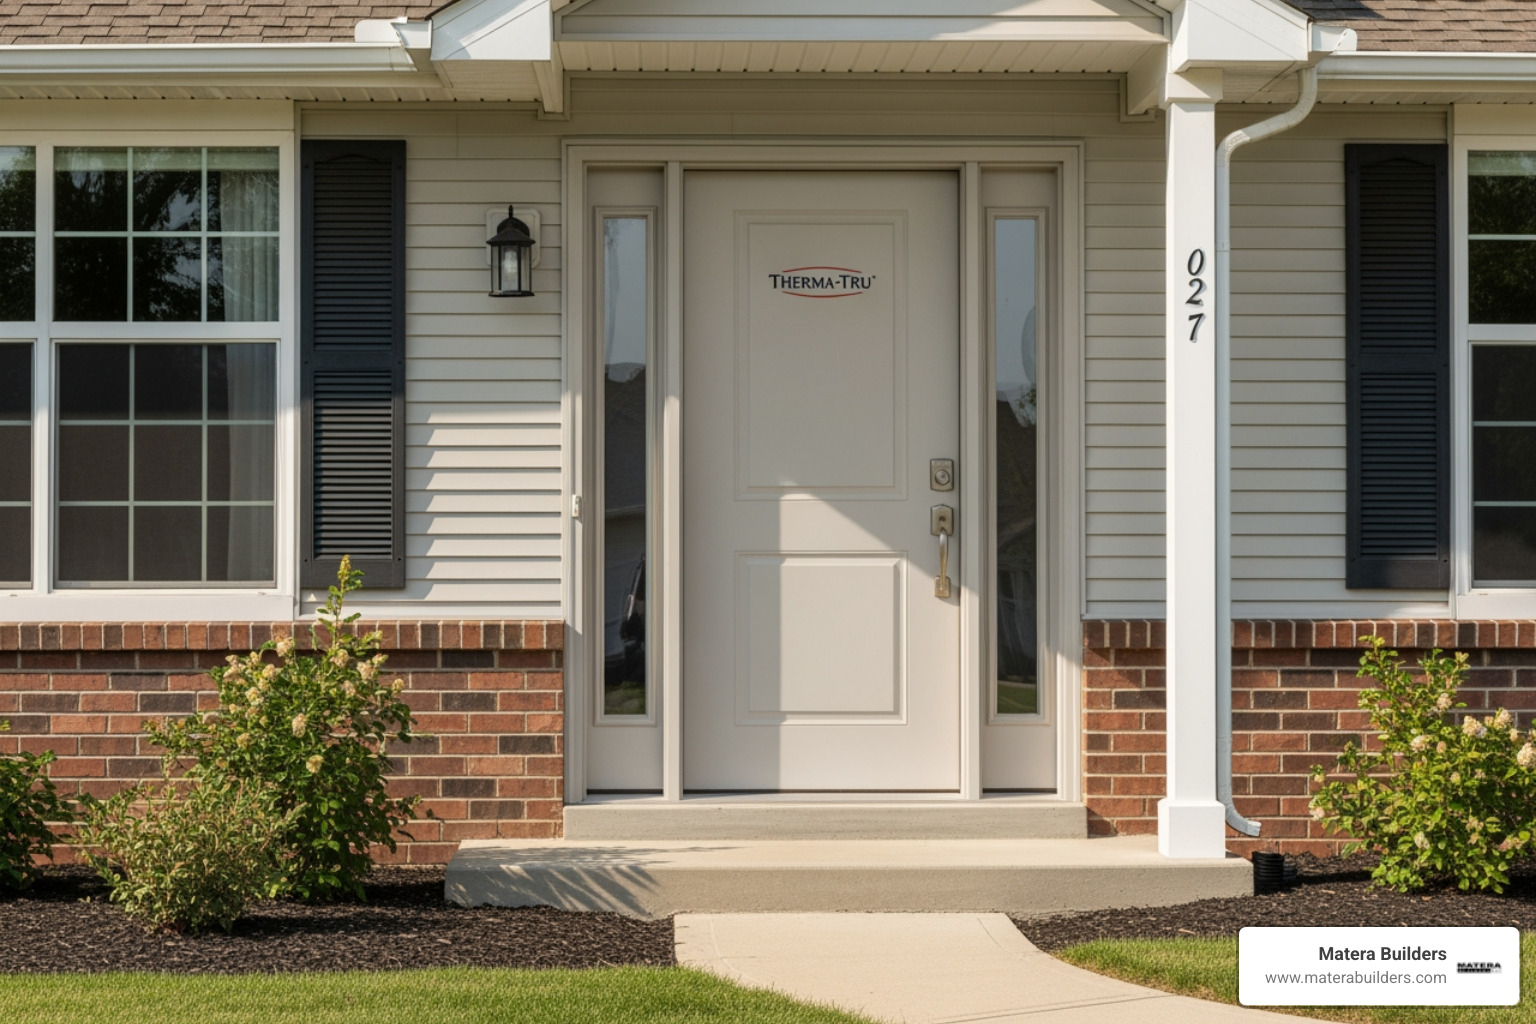
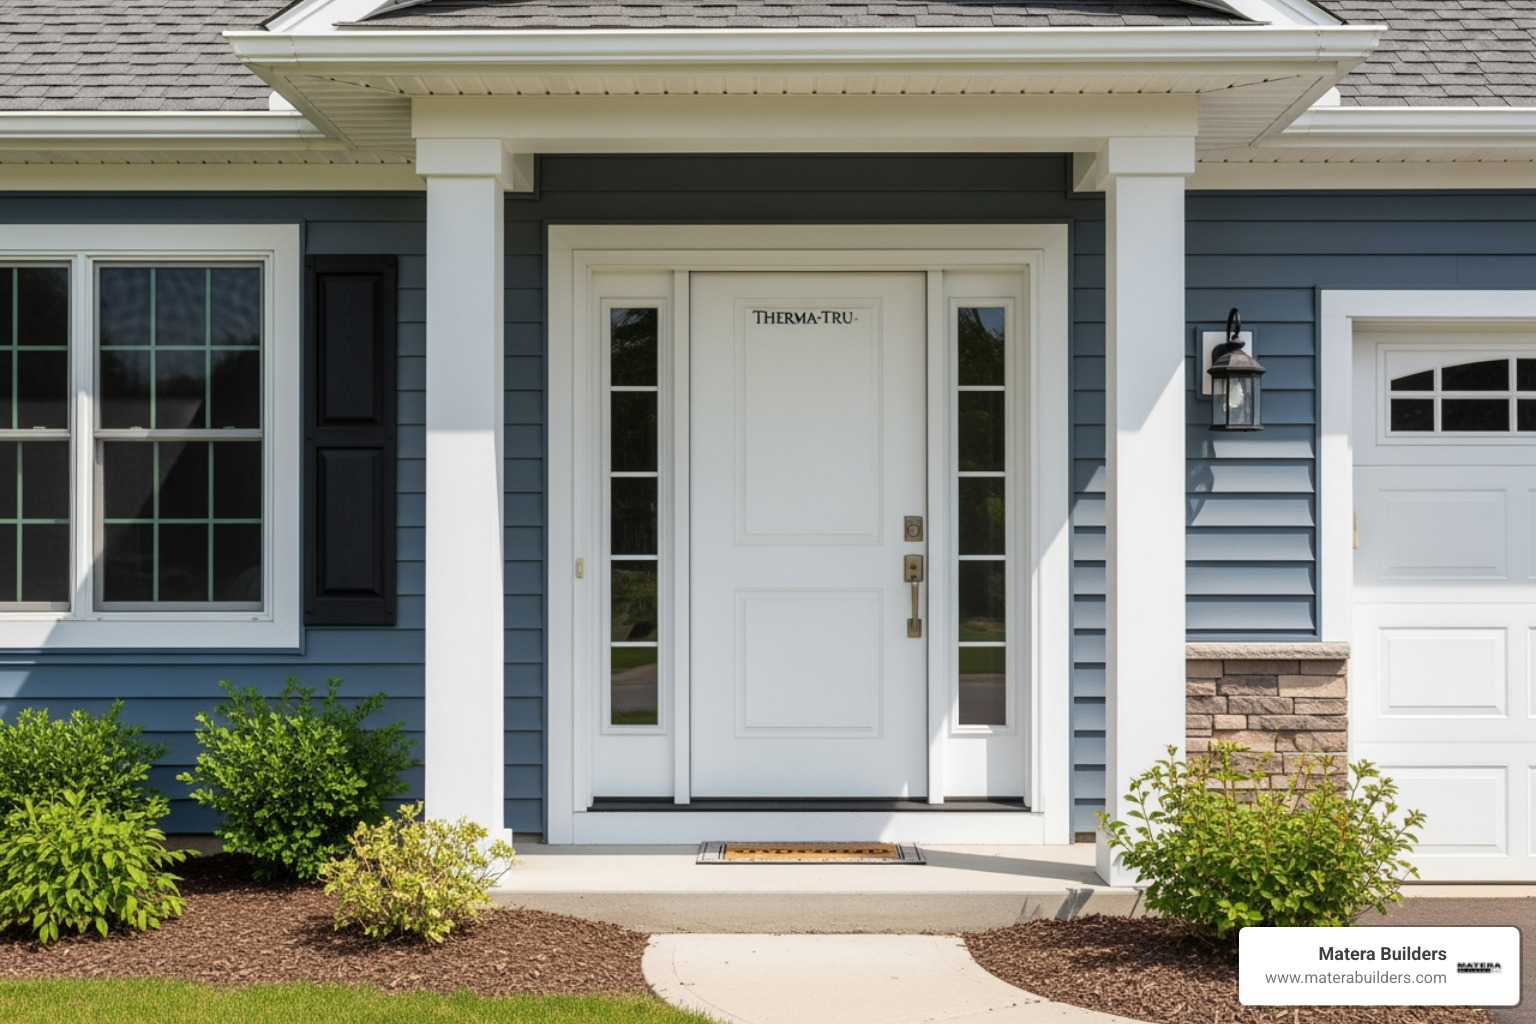
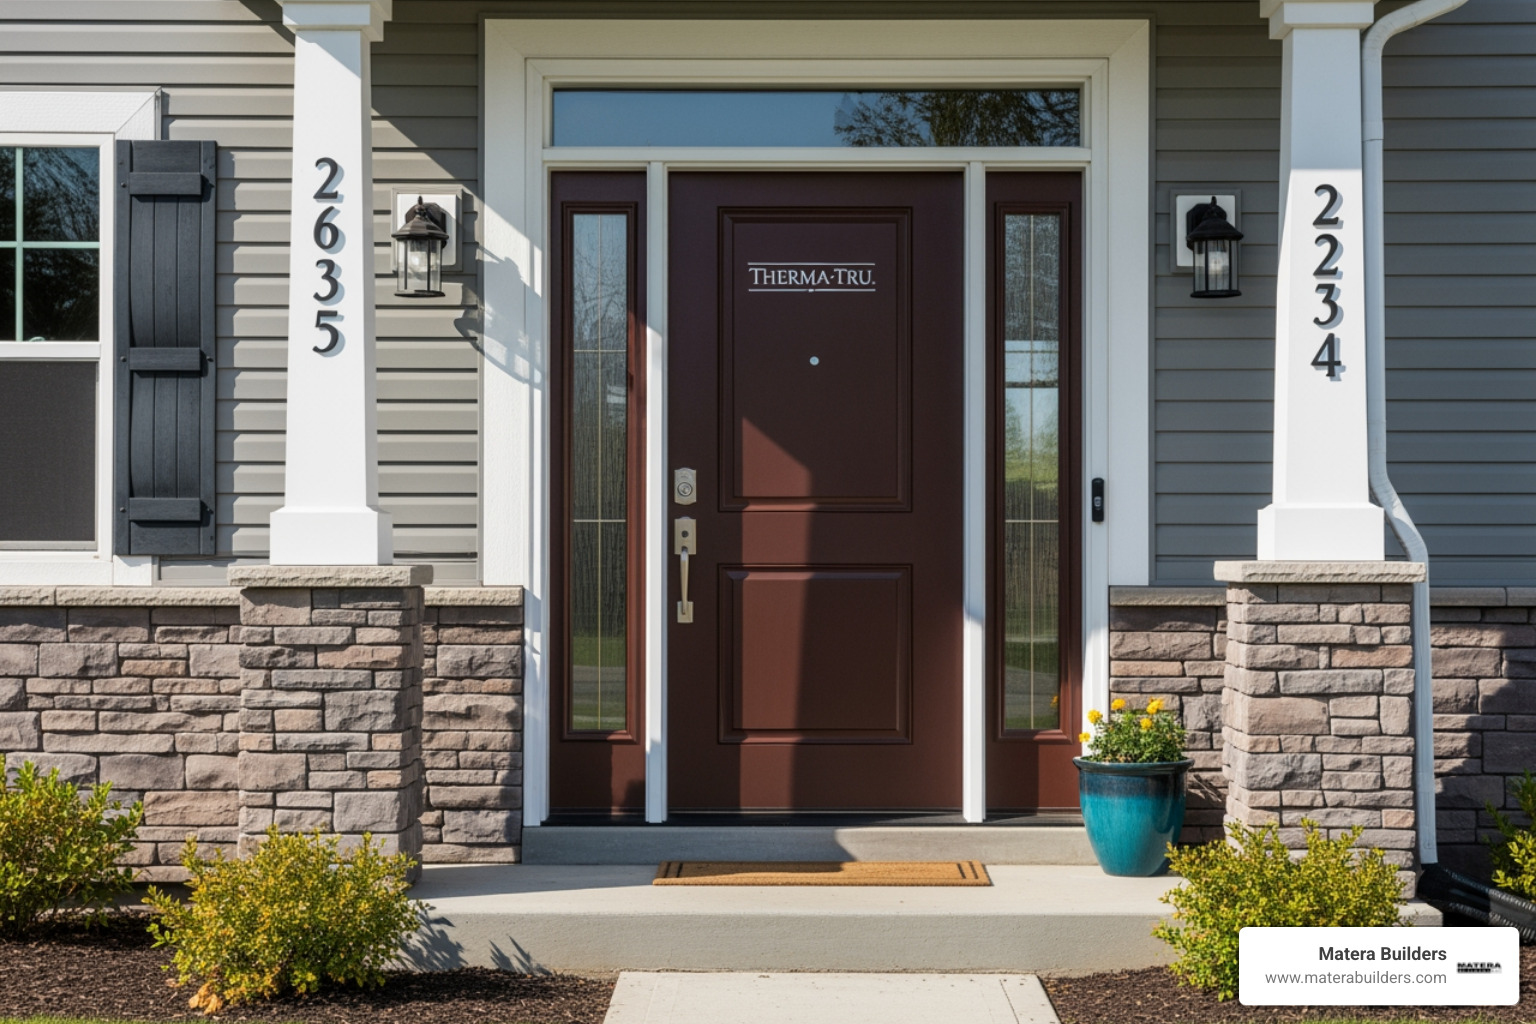
- Fiberglass: This is often our top recommendation for New Jersey homeowners. Fiberglass doesn't warp, rot, or corrode. When you choose a premium option like Therma-Tru, you get a door that looks exactly like real wood but stands up to the salt air without flinching.
- Steel: Steel is excellent for security and is often more budget-friendly. Modern steel doors have foam-filled cores that provide great insulation. However, in coastal areas, if the paint is scratched, the steel can rust quickly.
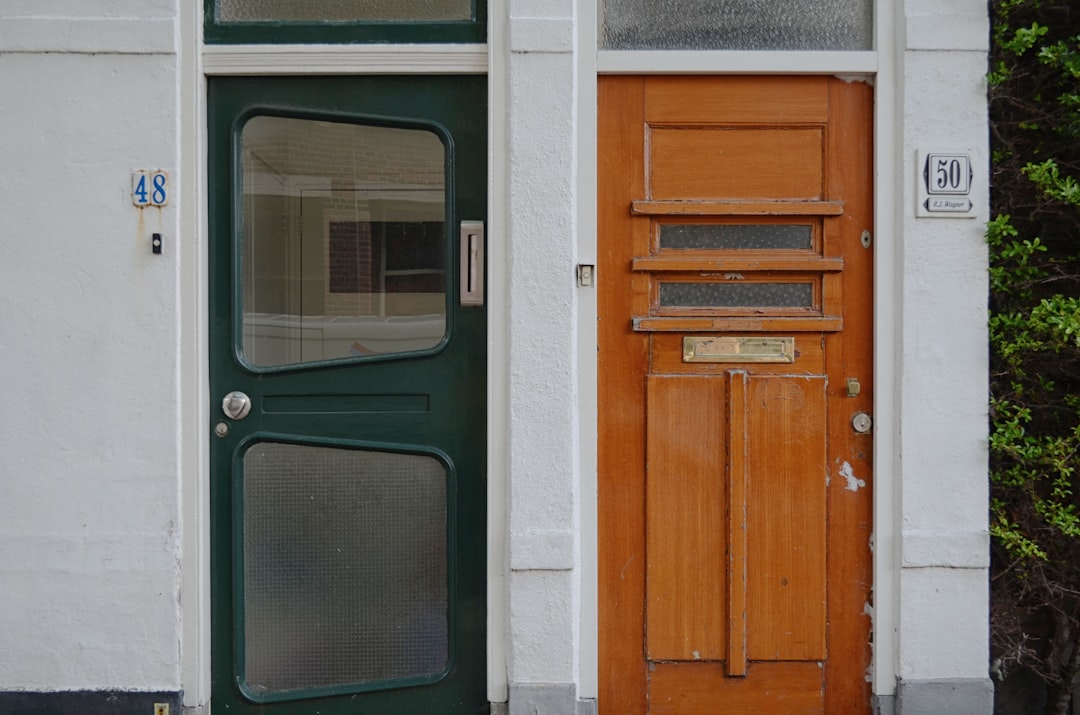
- Wood: There is nothing quite like the beauty of a solid mahogany or oak door. However, wood requires a lot of love. You’ll need to refinish it every 1 to 3 years to prevent moisture from getting into the grain. If you want the look of wood with less hassle, we often point clients toward More info about Therma-Tru entry doors.
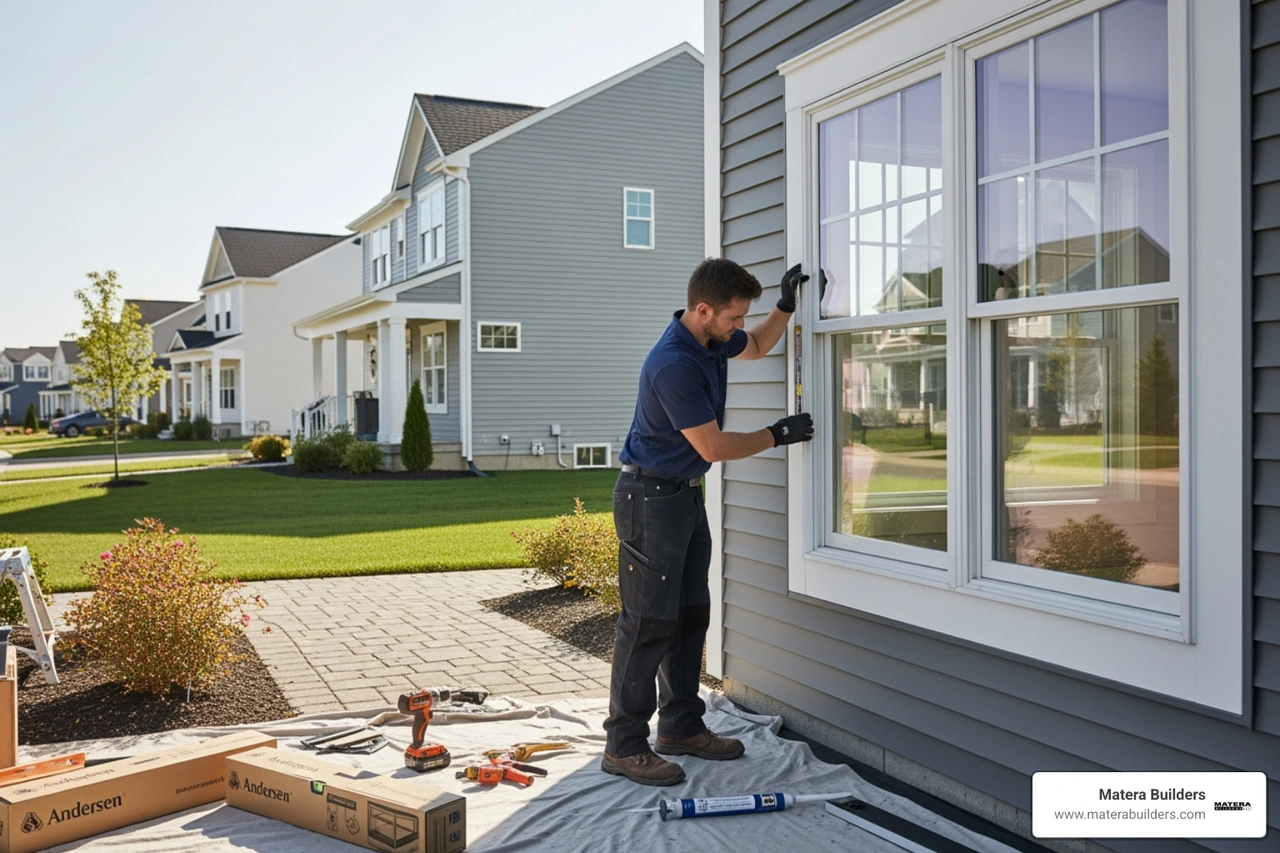
For many of our high-end projects, we utilize Andersen Doors. Their attention to detail and use of high-performance materials like Fibrex or aluminum-clad wood provides the durability needed for the Jersey Shore while maintaining a classic aesthetic.
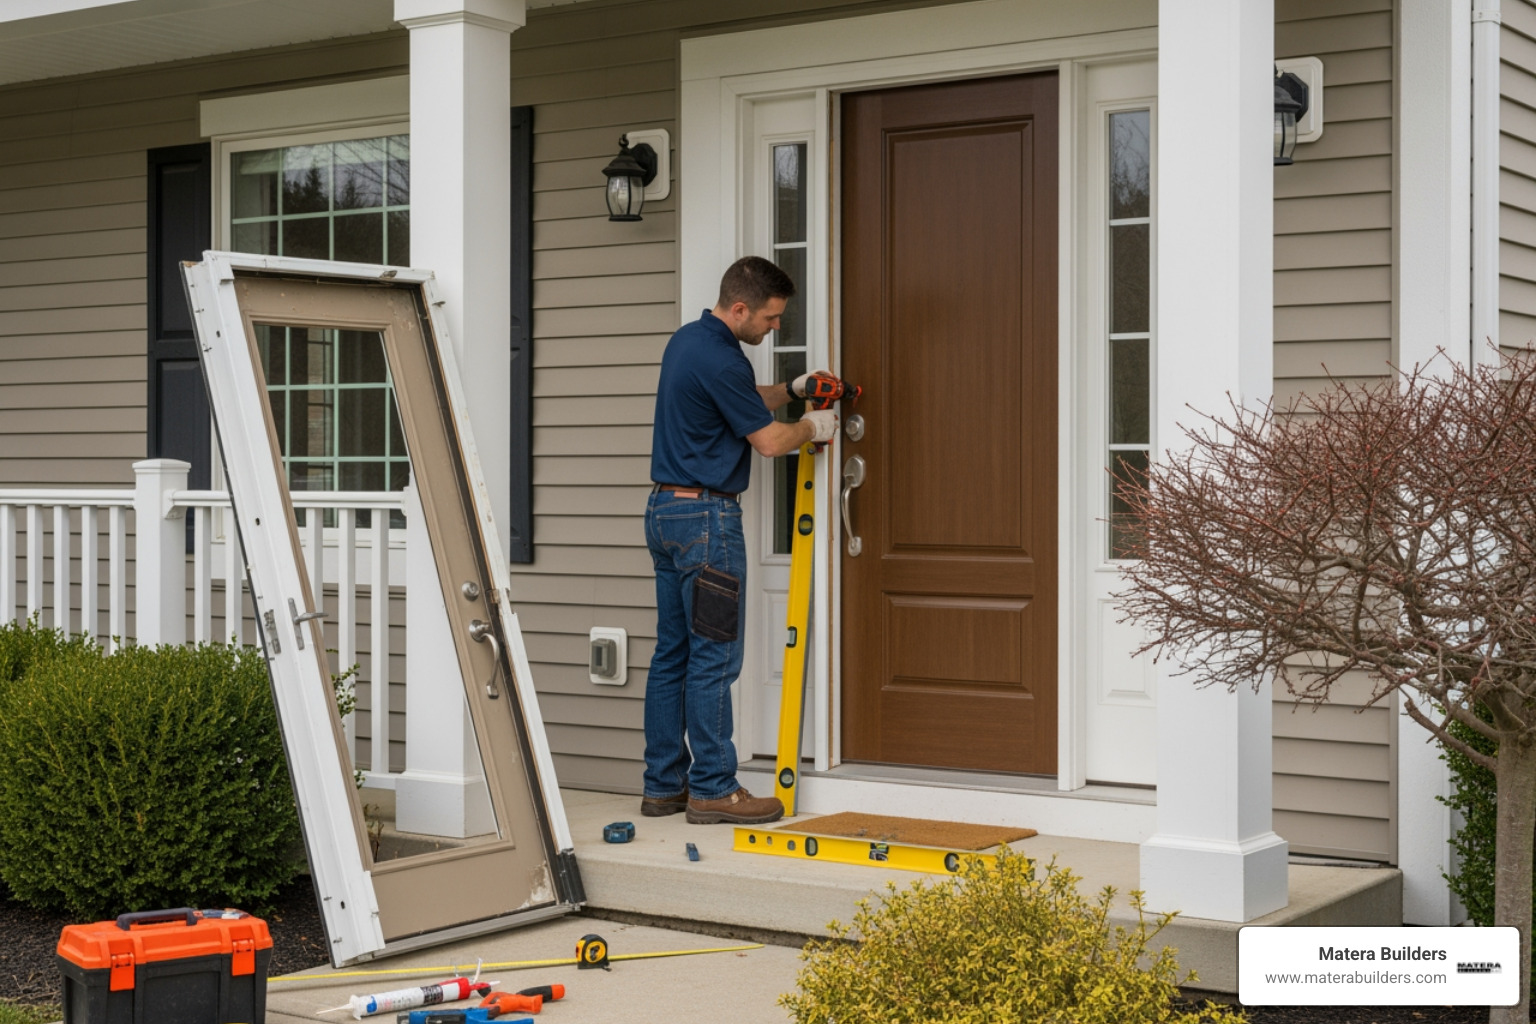
The Step-by-Step Installation Process
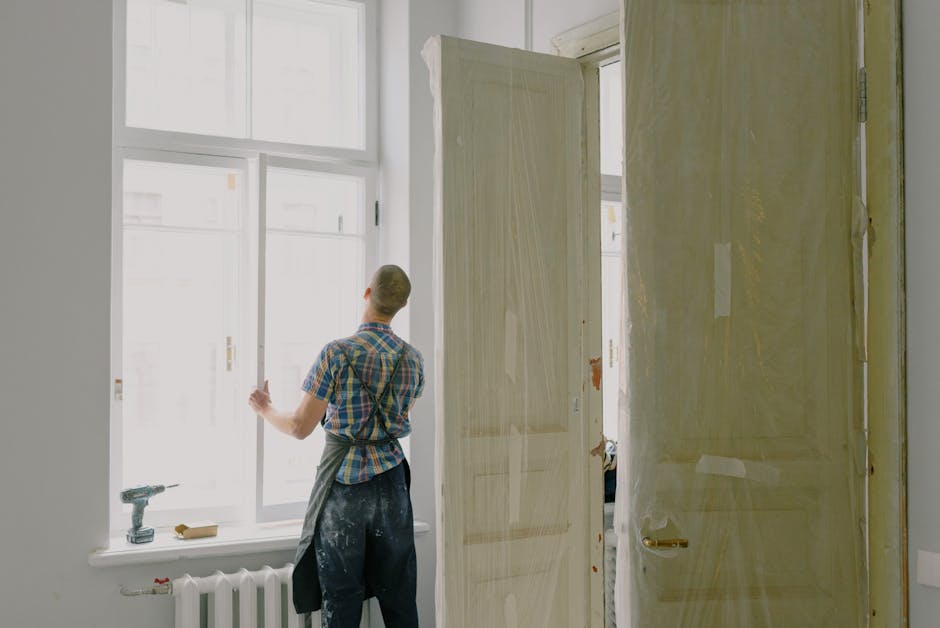
Once the door arrives, the real work begins. We start by protecting your home. We use drop cloths inside and out because door replacement is a messy business.

1. Lead Paint Safety
If your home was built before 1978, we have to assume there is lead-based paint. Disturbing old door frames can create dangerous dust. We follow strict Lead paint safety guidelines to keep your family safe during the removal process.
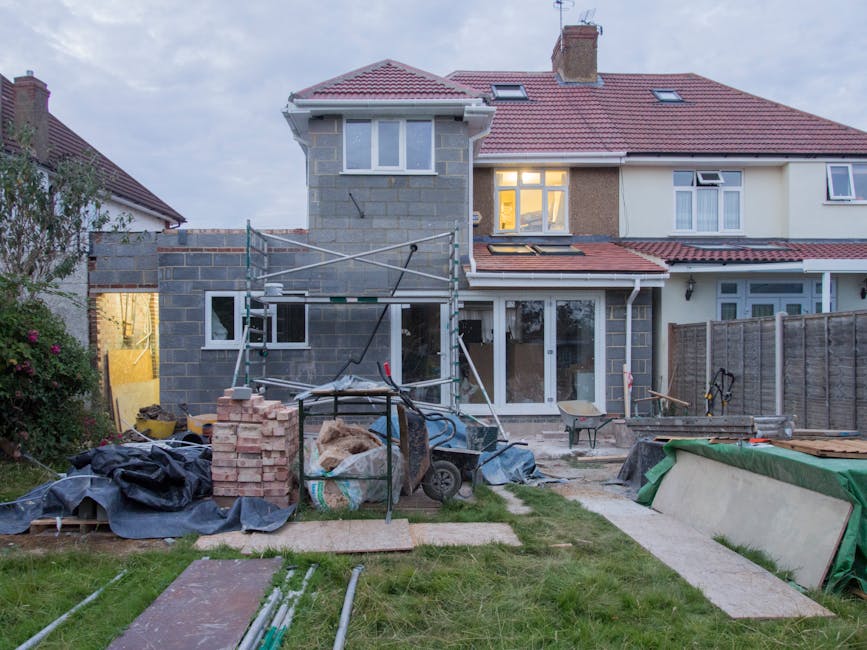
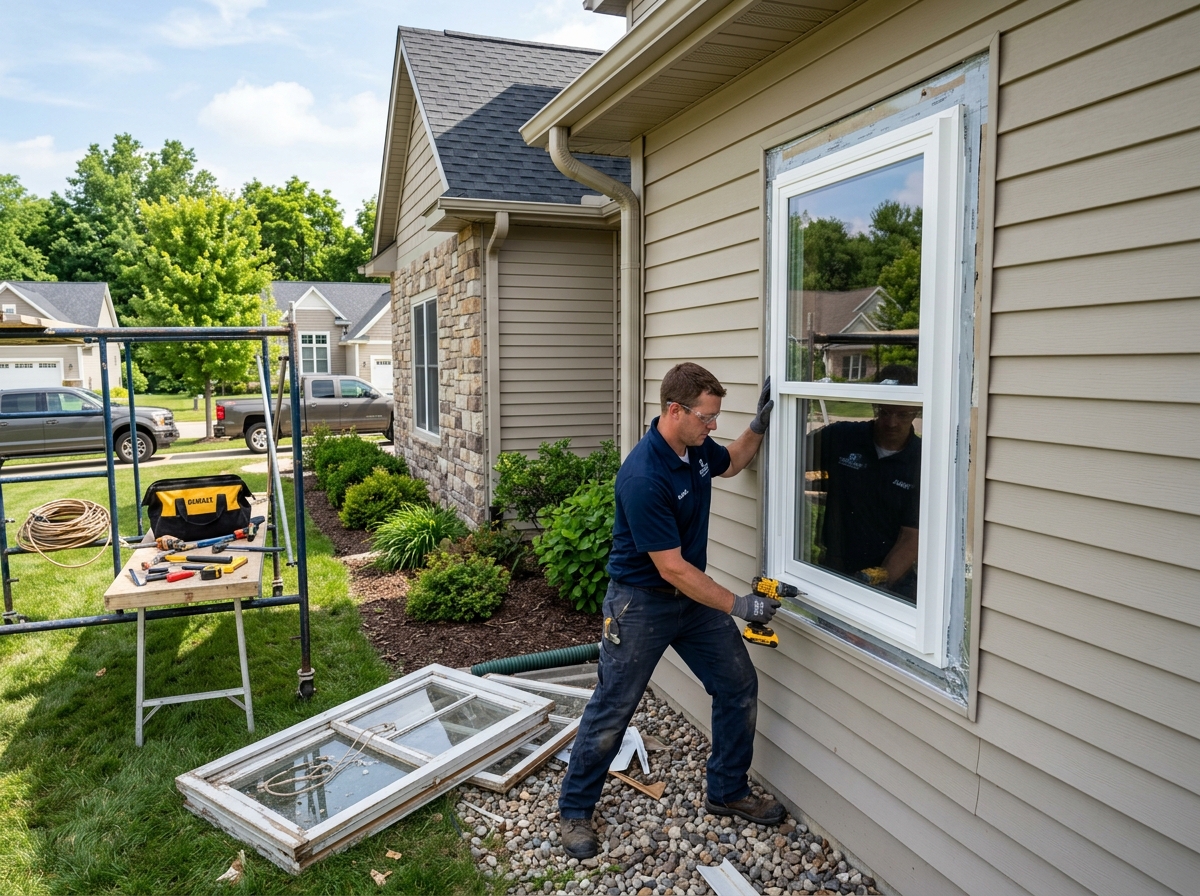
2. Removing the Old Unit
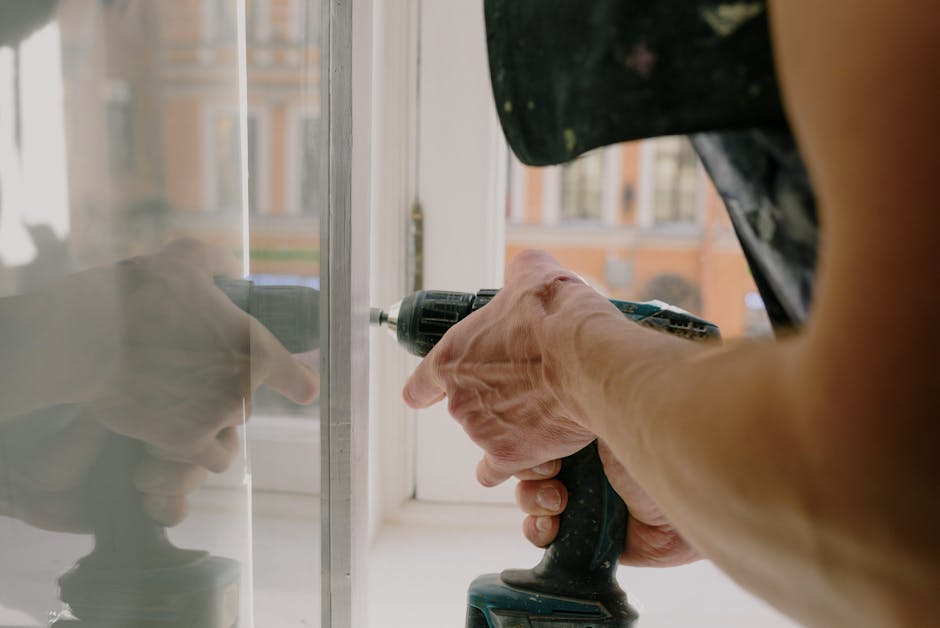
We score the interior and exterior trim with a utility knife to avoid tearing the drywall or siding. Then, we pop the hinge pins, remove the door slab, and pry out the old frame. This is the moment of truth where we inspect the subfloor for water damage. If we find rot, we fix it right then and there. You can't put a new door on a rotten foundation.
3. Prepping the Sill
We apply a high-quality flashing tape and a sill pan. This ensures that if any water ever gets past the seals, it is directed back outside rather than into your floor joists.
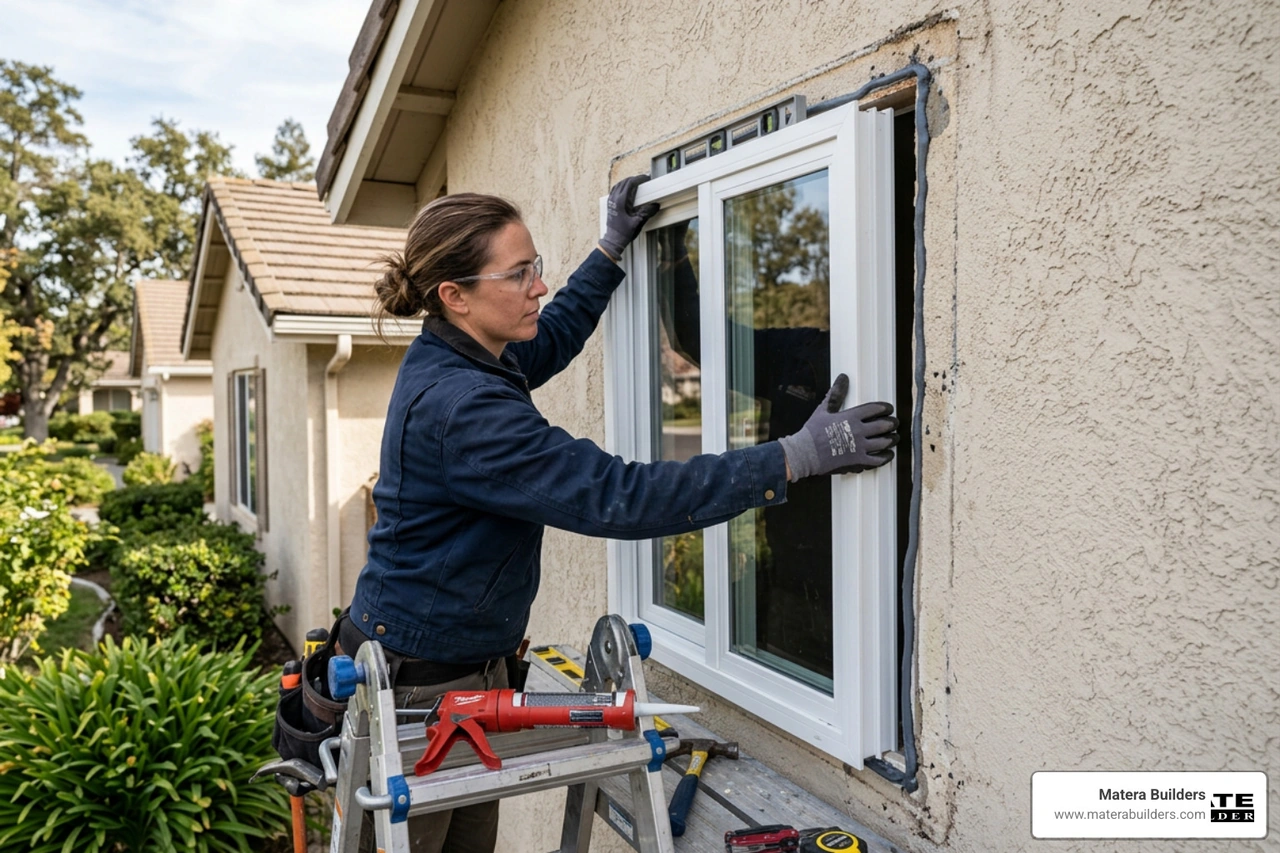
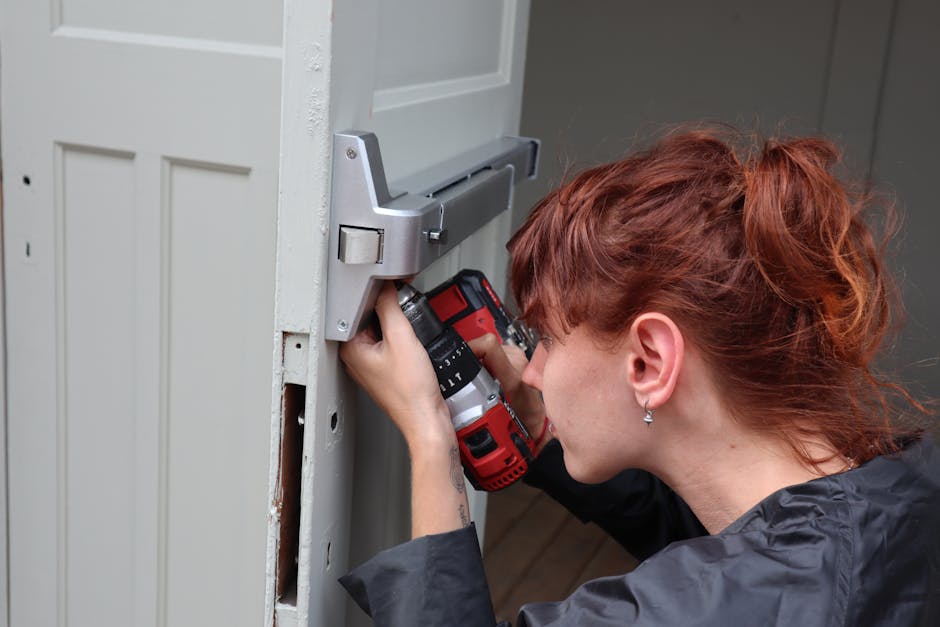
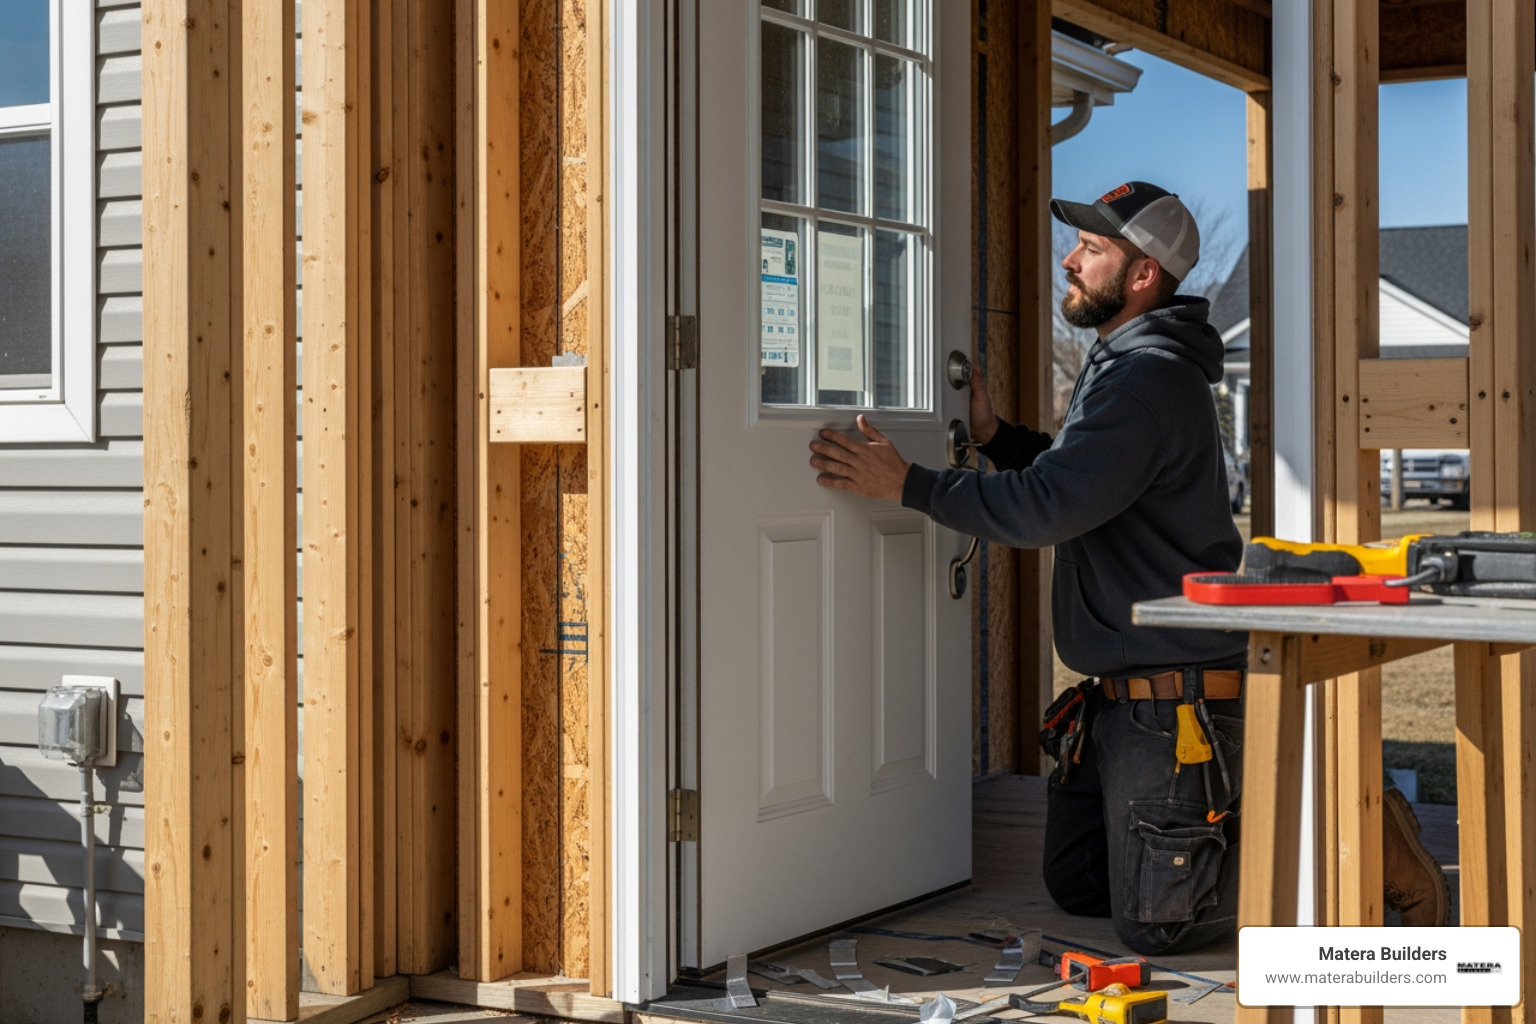
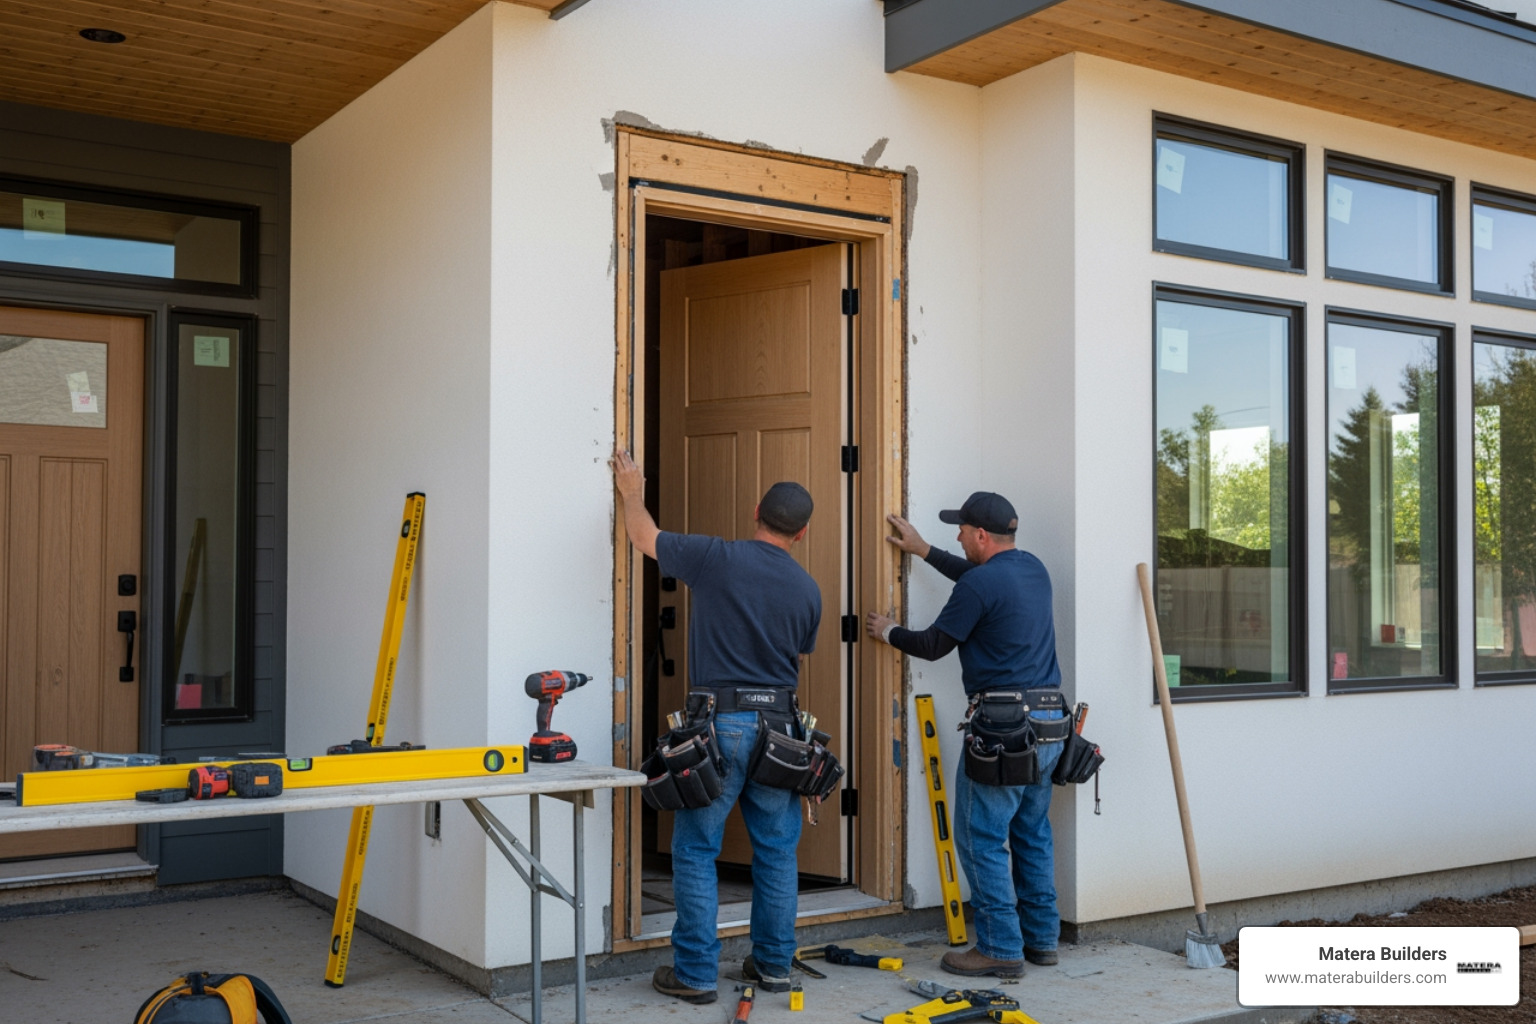
4. Setting, Squaring, and Plumbing
We "dry fit" the door first to make sure everything aligns. Then, we apply three thick beads of sealant to the subfloor and tilt the door into place. We shim behind the hinges first, using a 6-foot level to ensure the hinge side is perfectly plumb (straight up and down). To check for "square," we measure the diagonals of the door frame in an "X" pattern. If the measurements are identical, the door is square.
Slab vs. Pre-hung: Which is right for you?
| Feature | Slab Door | Pre-hung Door |
|---|---|---|
| What it is | Just the door "leaf" | Door already attached to a frame |
| Skill Level | Advanced (requires mortising hinges) | Intermediate |
| Best Use | Replacing a door in a perfect existing frame | Most renovations and new construction |
| Installation Time | 2-4 hours | 4-8 hours (including frame removal) |
| Weather Seal | Depends on old frame | Factory-sealed and weathertight |
Maximizing Security and Energy Performance
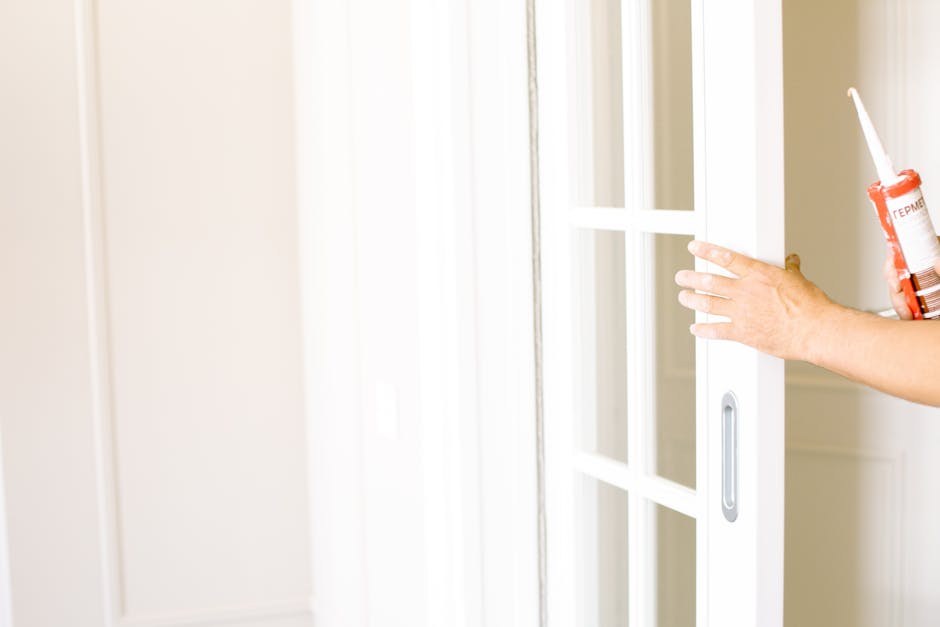
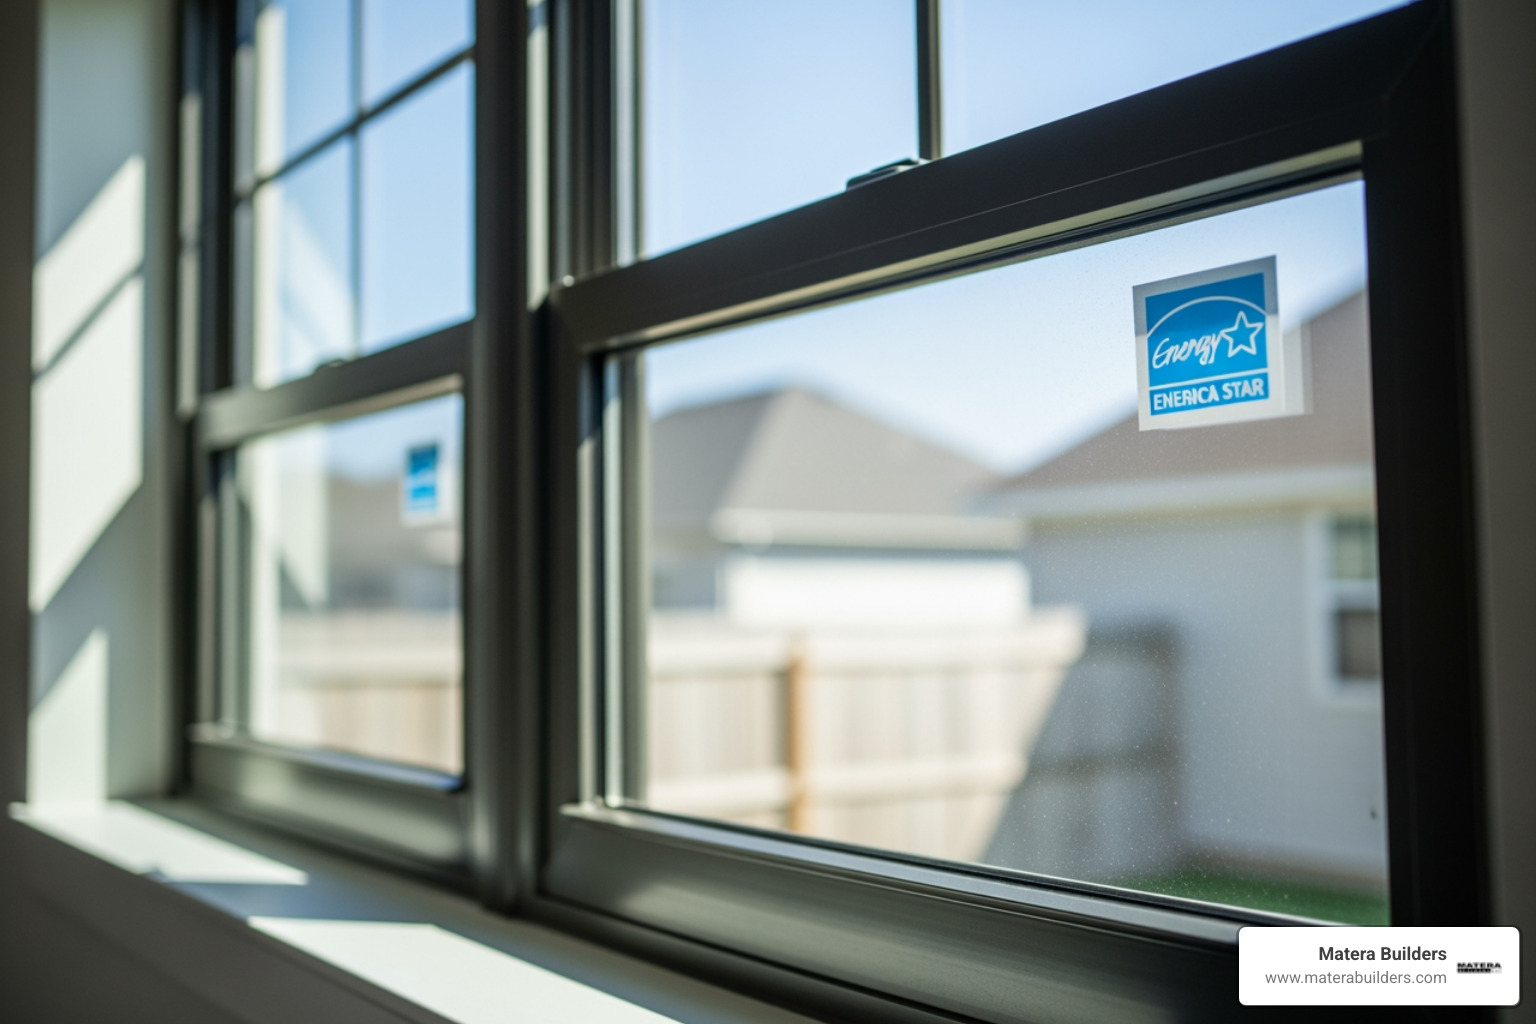
A Custom entry door installation isn't finished just because the door swings shut. To get the 10-15% energy savings that a new door can provide, you have to seal it correctly.
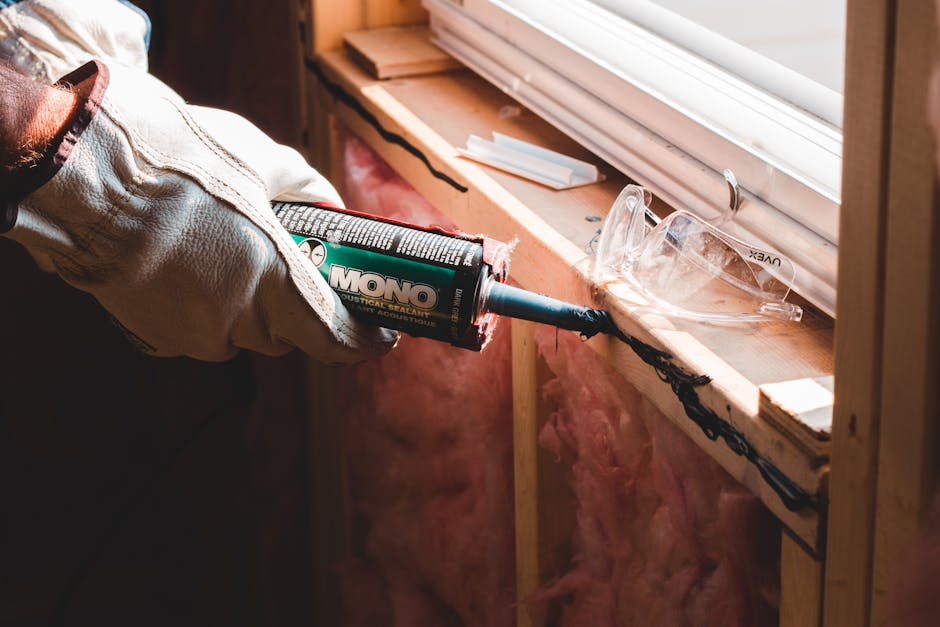
We use low-expansion spray foam in the gaps between the door frame and the wall studs. This provides an airtight barrier without bowing the jambs. On the exterior, we use a high-grade, paintable caulk to seal the brickmould to the siding.
For security, we replace at least one screw in each hinge with a 3-inch hardened steel screw that reaches all the way into the wall framing. This makes it nearly impossible for someone to kick the door in. We also recommend high-performance hardware. If you have a grand entrance, you might want to explore More info about Andersen big doors, which offer multi-point locking systems for maximum security on oversized units.
Troubleshooting Your Custom Entry Door Installation
Even with the best intentions, issues can pop up after the house "settles" with the new door.
- Door Sticking: Usually caused by a frame that isn't plumb or a hinge that has pulled loose. Adjusting the shims or tightening the 3-inch hinge screws often fixes this.
- Gaps or Drafts: Check your weatherstripping. Most modern thresholds have adjustment screws. Turn them counter-clockwise to raise the sill cap until it meets the door sweep.
- The Dollar Bill Test: Close the door on a dollar bill at the threshold. If you can pull the bill out with no resistance, the seal is too loose. If the bill tears, it's too tight. You want a snug "tug" to know you have a weathertight seal.
Frequently Asked Questions
Should I DIY or hire a professional for custom door installation?
While a standard pre-hung door can be a DIY project for a very handy homeowner, Custom entry door installation—especially those involving sidelights, transoms, or coastal-grade materials—is best left to professionals. A single mistake in flashing or leveling can lead to thousands of dollars in water damage down the road. At Matera Builders, we've seen many "DIY" installs that ended up costing the homeowner twice as much to fix later.
How long does it take to install a custom front door?
A straightforward pre-hung door replacement usually takes 4 to 6 hours. However, if we are reframing the opening, dealing with structural rot, or installing a complex multi-door configuration with sidelights, it can take a full day or more.
How much does professional custom entry door installation cost?
Labor for a standard installation typically ranges from $300 to $1,000. If the project requires intensive reframing or custom trim work, that cost can go up. When you factor in the cost of a high-quality Andersen or Therma-Tru door, most homeowners should budget between $1,500 and $5,000 for a complete, professional-grade entry upgrade.
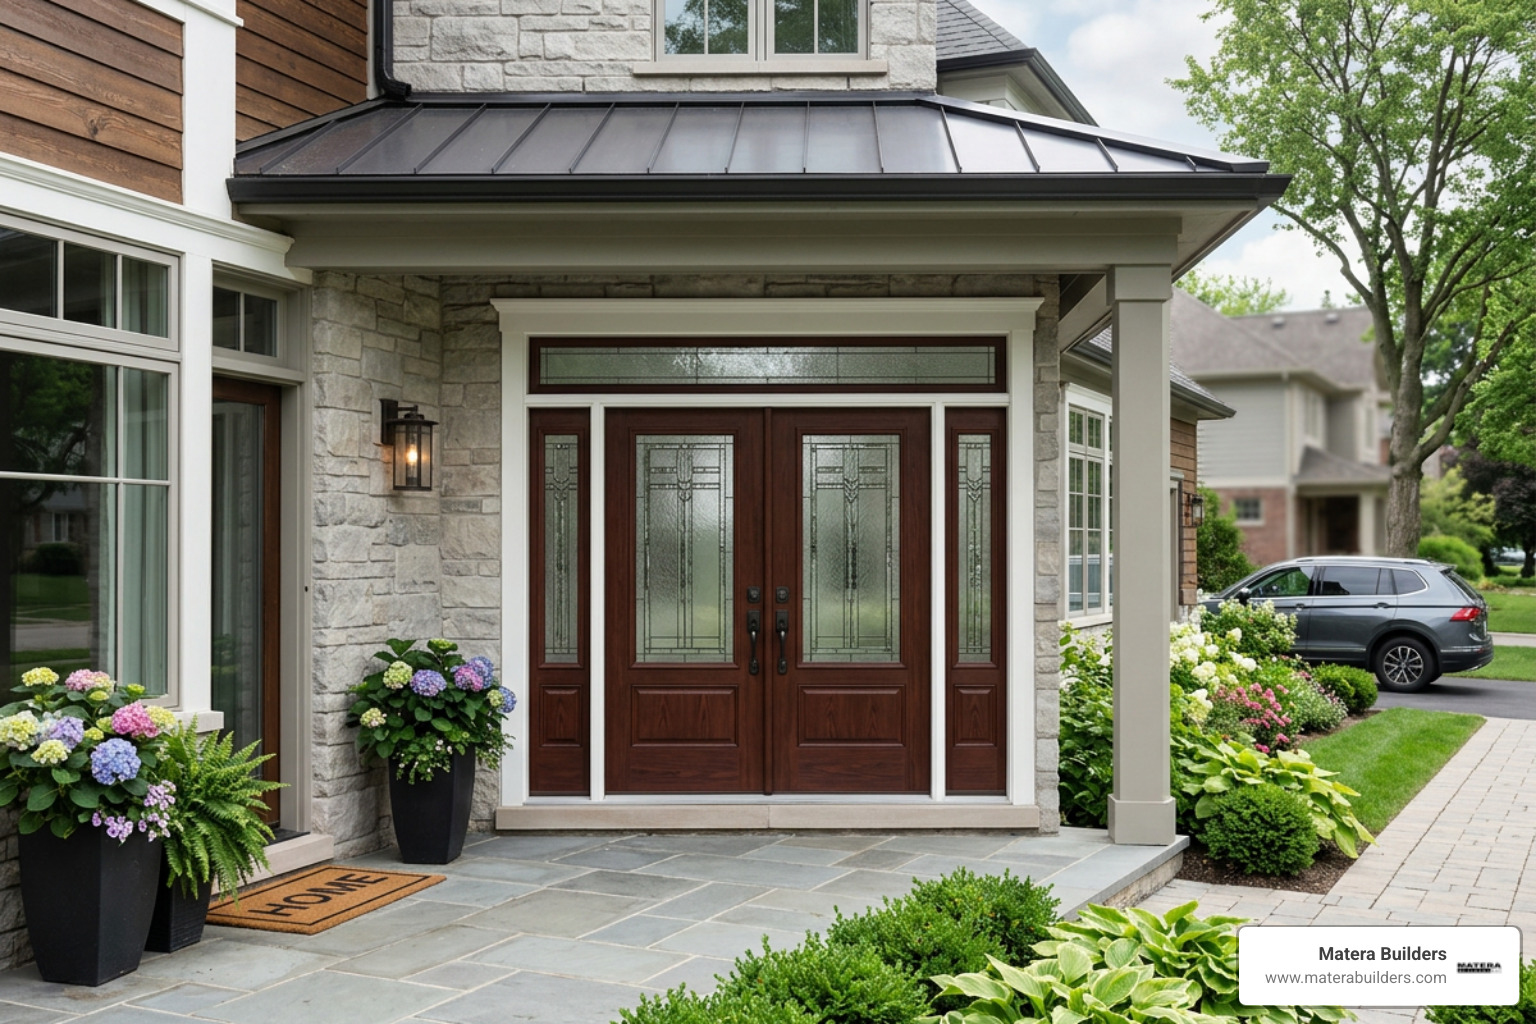
Conclusion
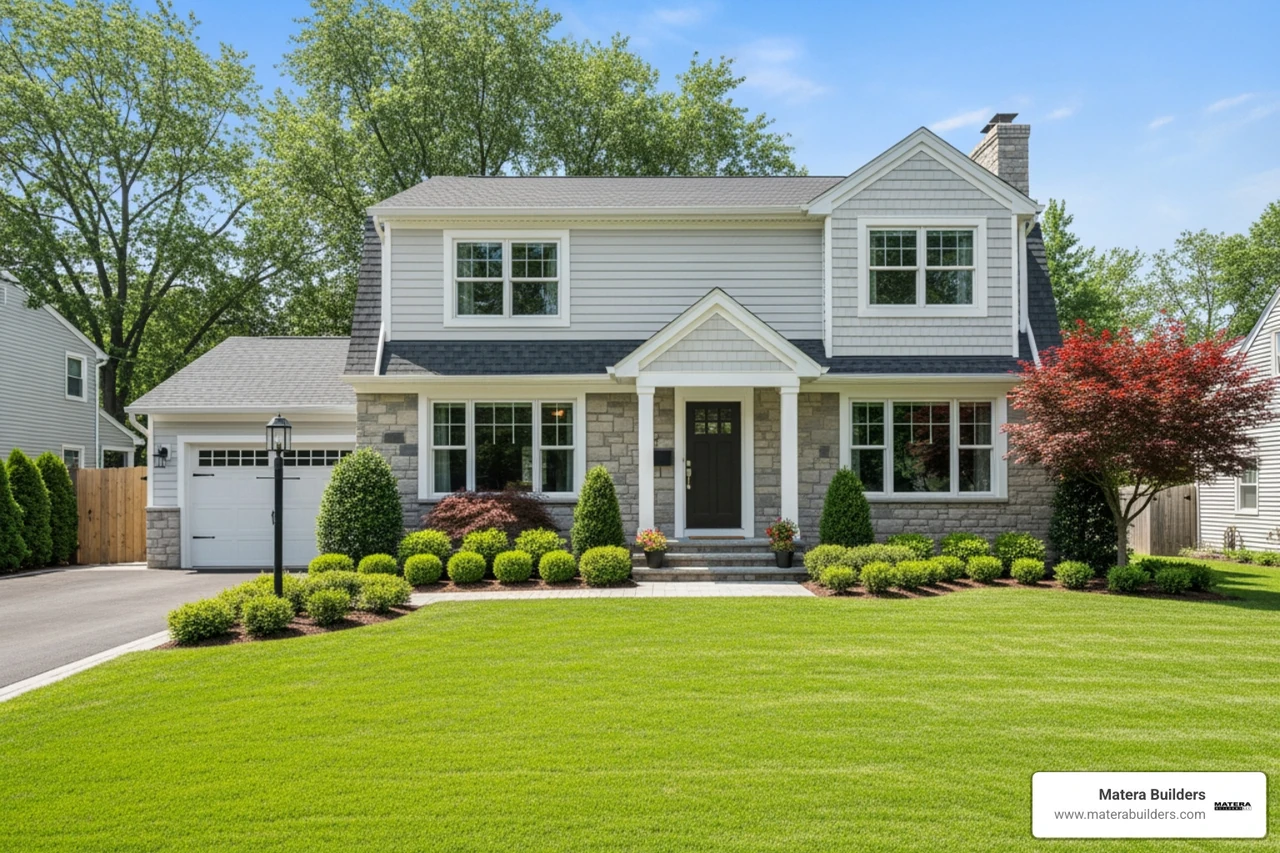
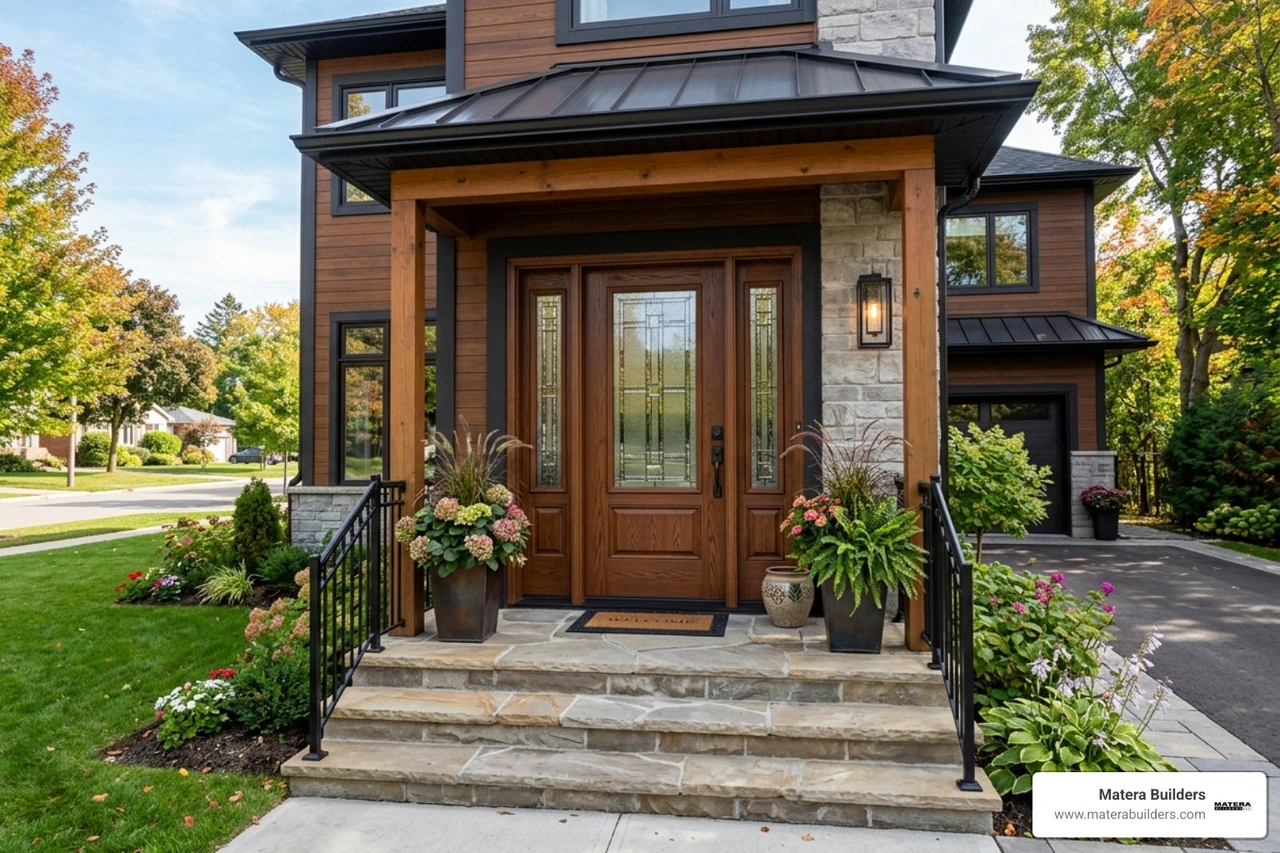
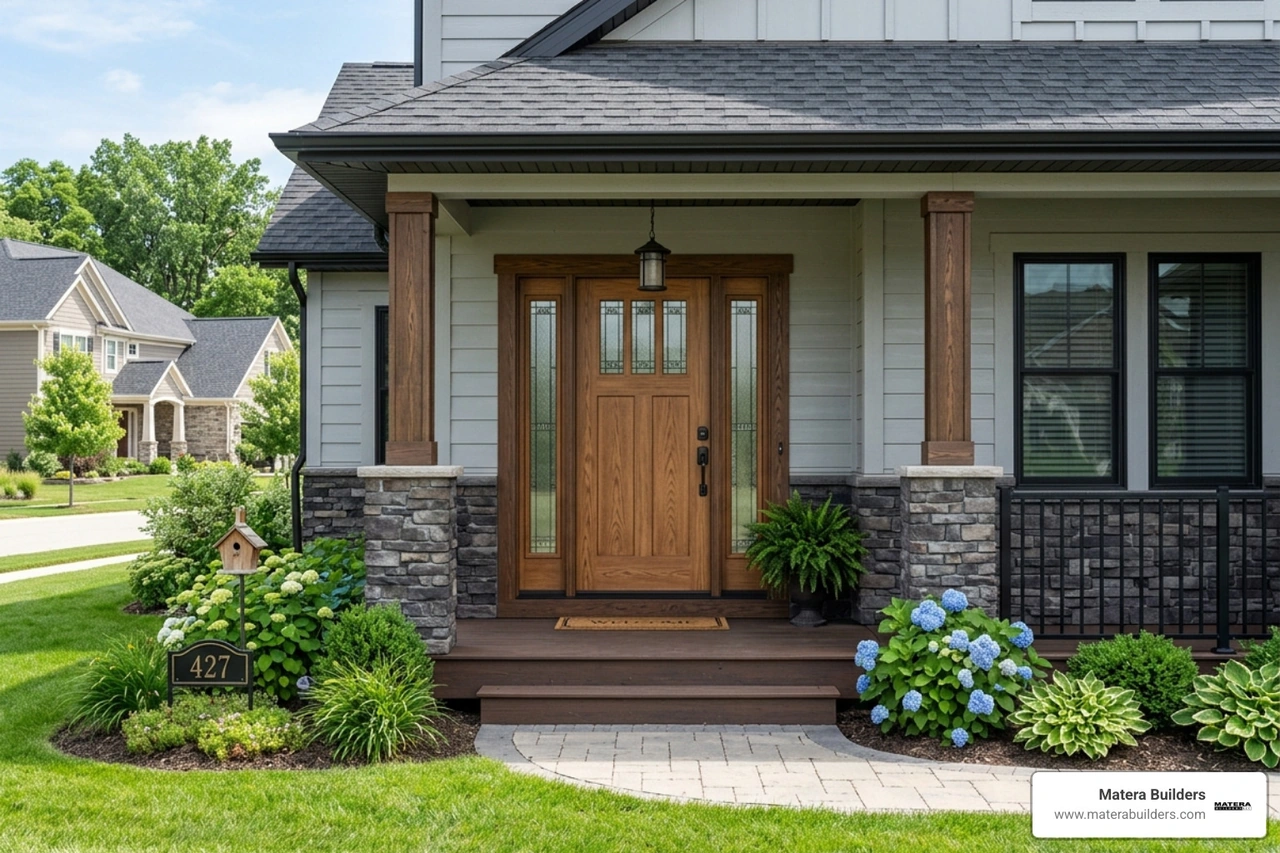
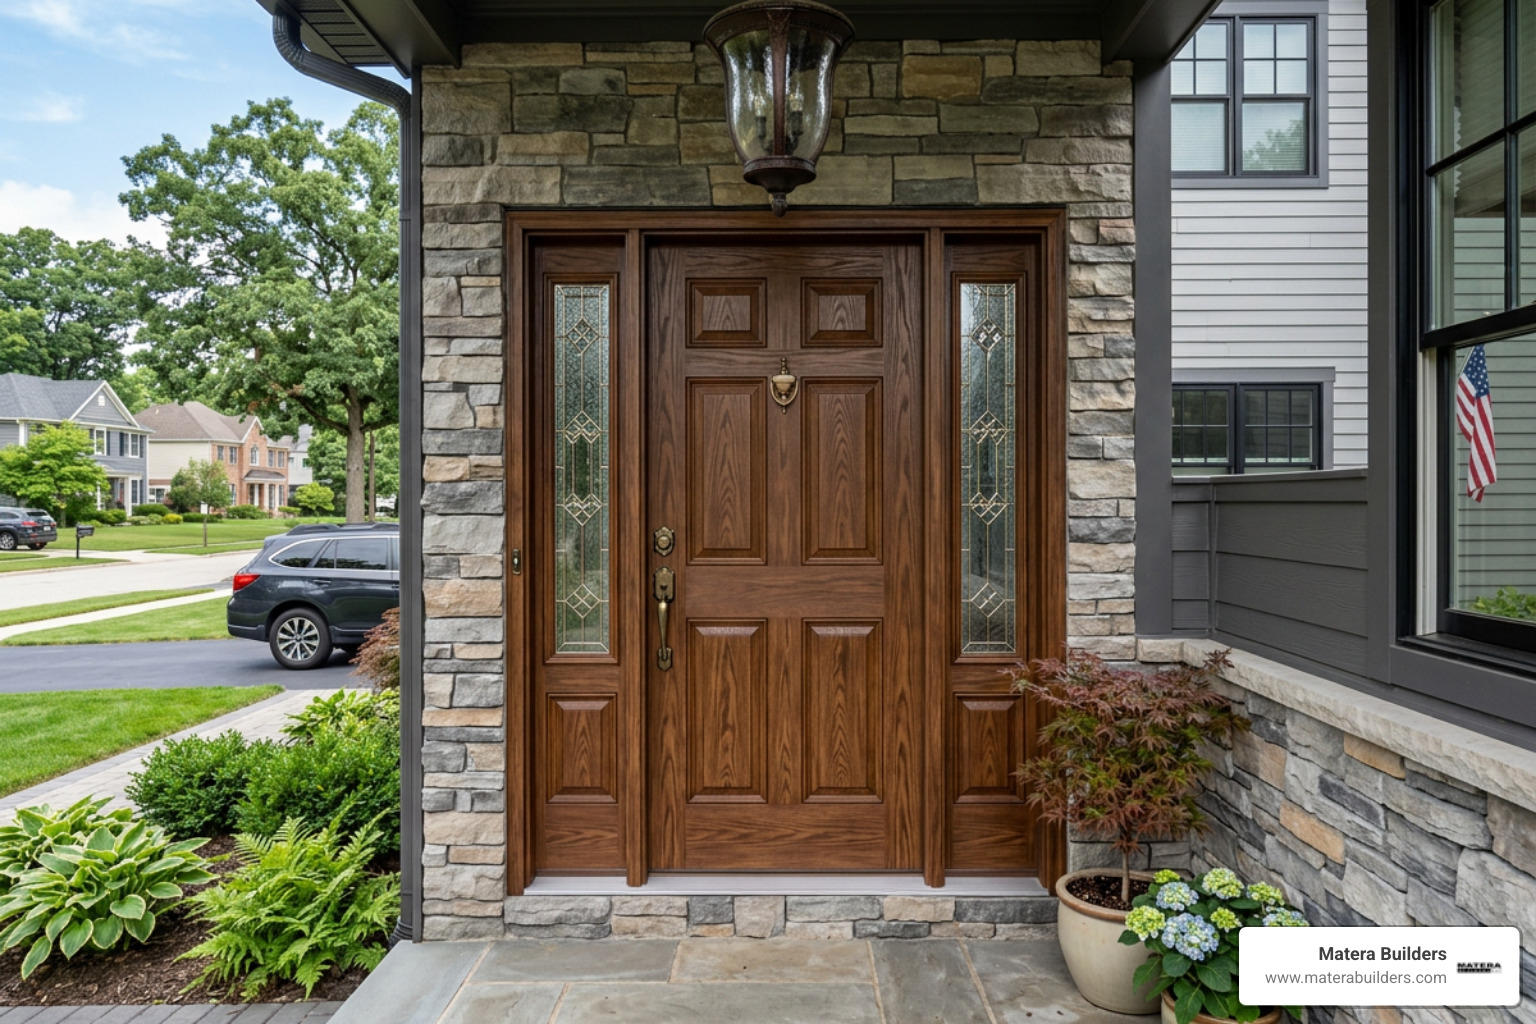
Your front door is more than just an entrance; it’s the centerpiece of your home’s curb appeal and your first line of defense against the elements. A proper Custom entry door installation provides immediate ROI through increased home value, better security, and lower energy bills.
At Matera Builders, we’ve spent over 37 years perfecting the art of the installation. Mike Werner and our team of certified installers believe in transparency and trust. We don't just "slap a door in"; we ensure the structure is sound, the flashing is watertight, and the finish is flawless. Whether you are in Ocean City or anywhere along the Jersey Shore, we understand the unique challenges our climate presents.
Ready to transform your home's entrance with a door that lasts for decades? Schedule a consultation with Matera Builders today, and let’s build something beautiful together.